
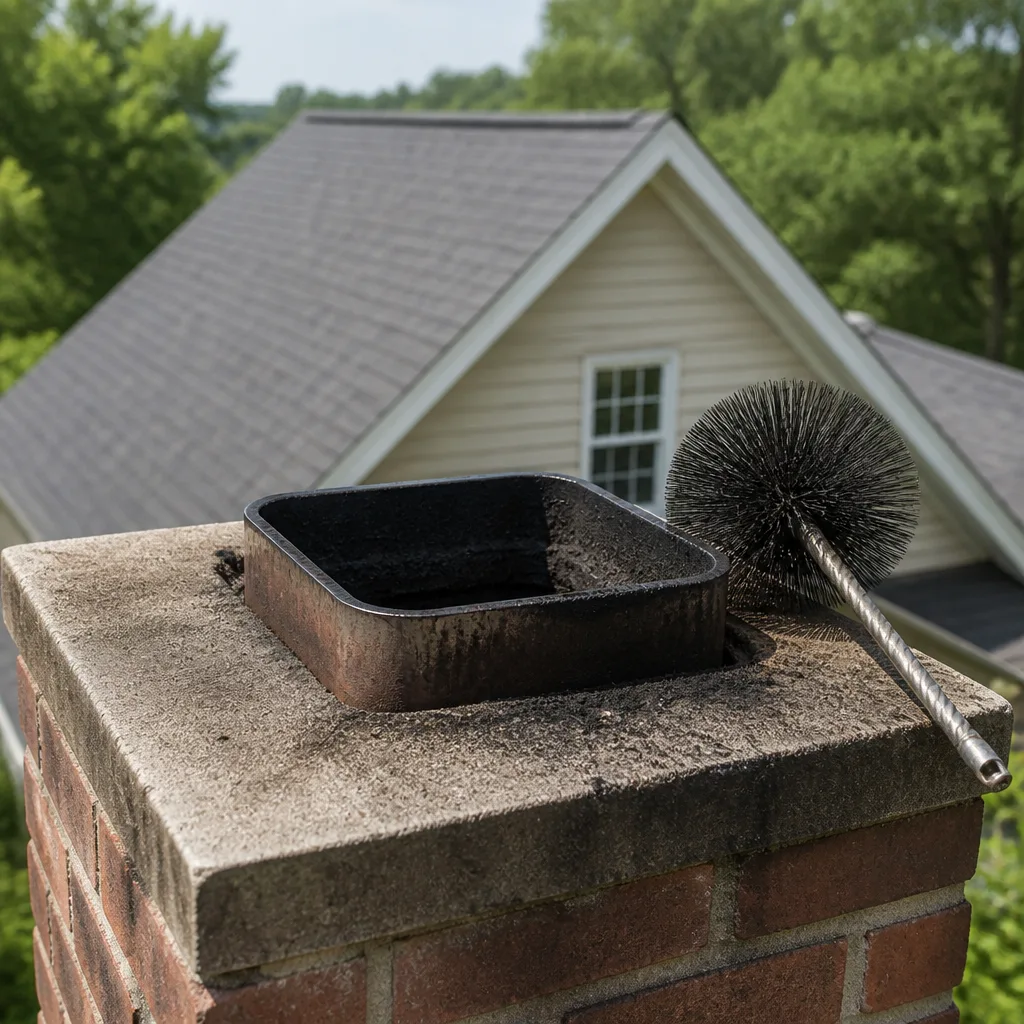
Level 1 sweep and inspection to the NFPA 211 annual standard - flue, crown, cap, and flashing checked and photographed
Chimney sweep logs do not sweep chimneys. They loosen some creosote - which then falls where a brush and vacuum still have to collect it.
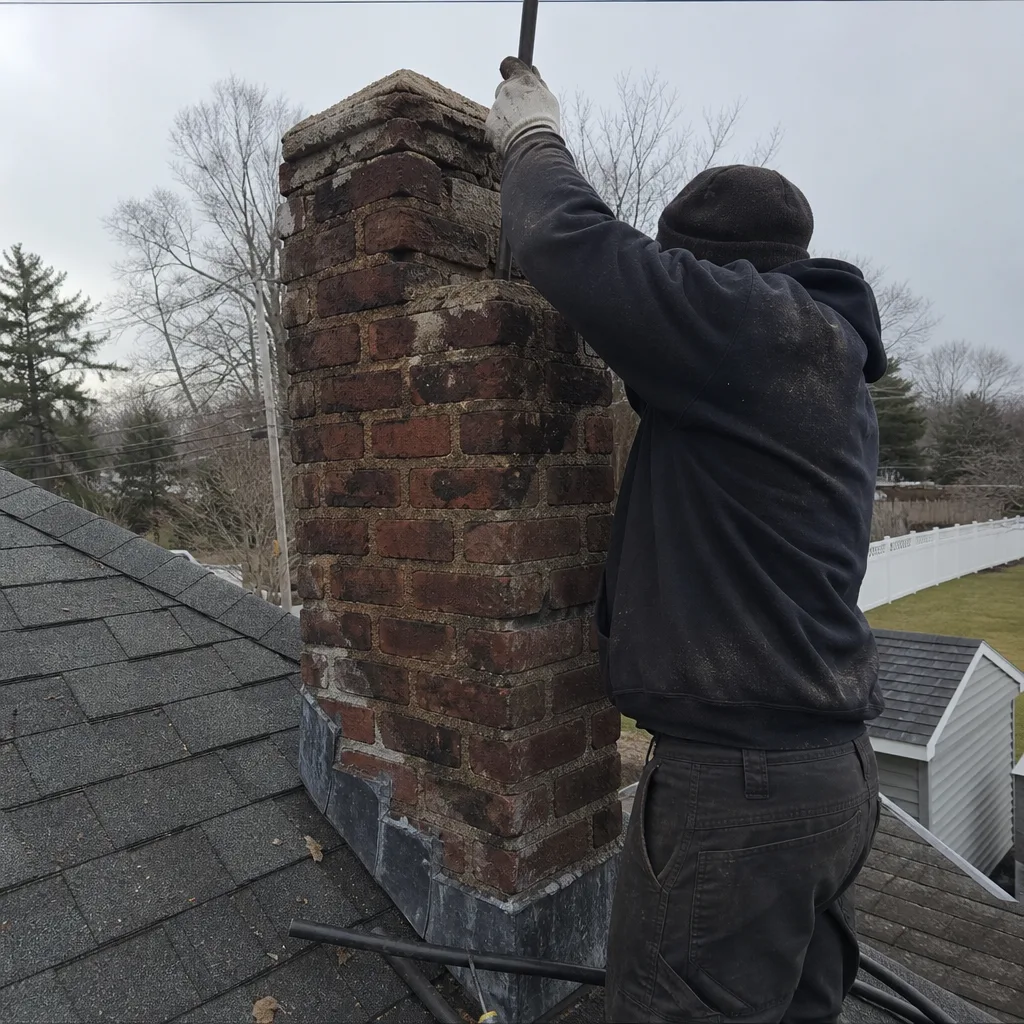 Before
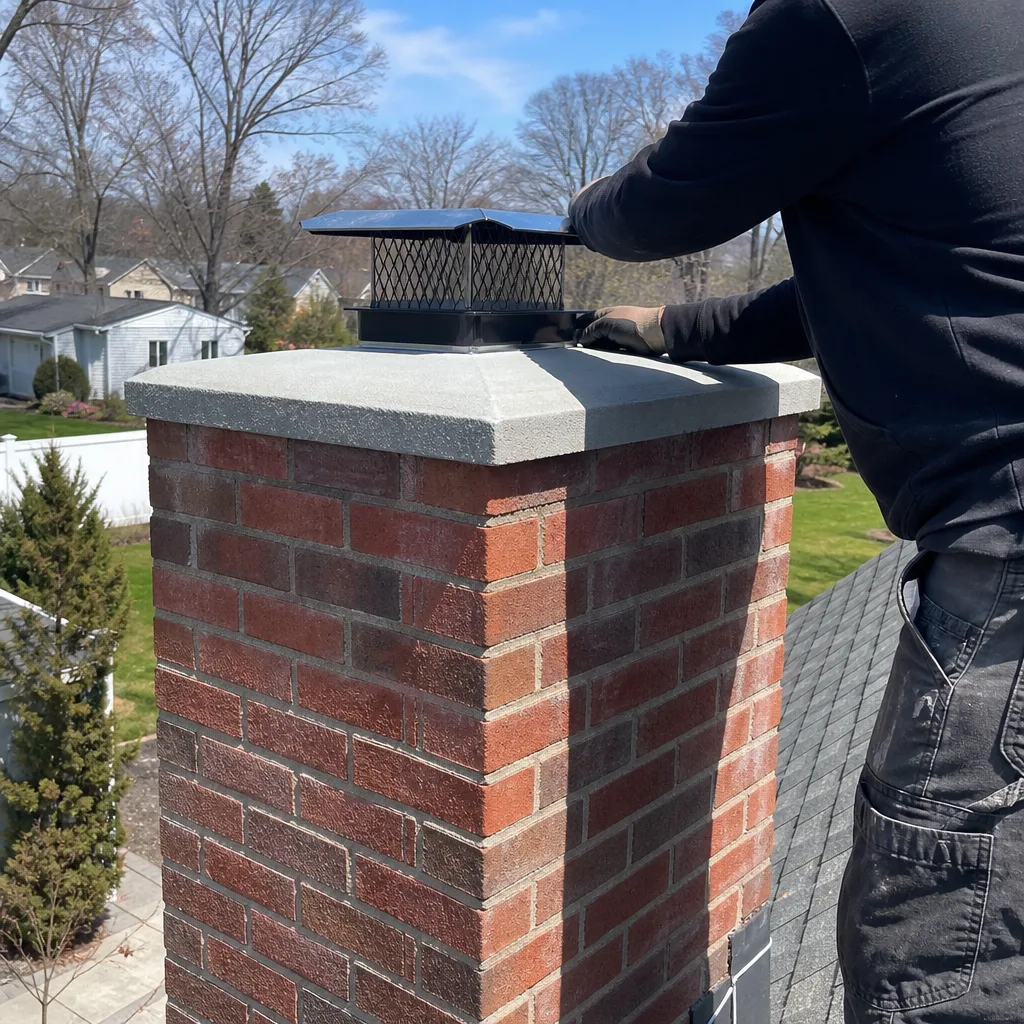 After
After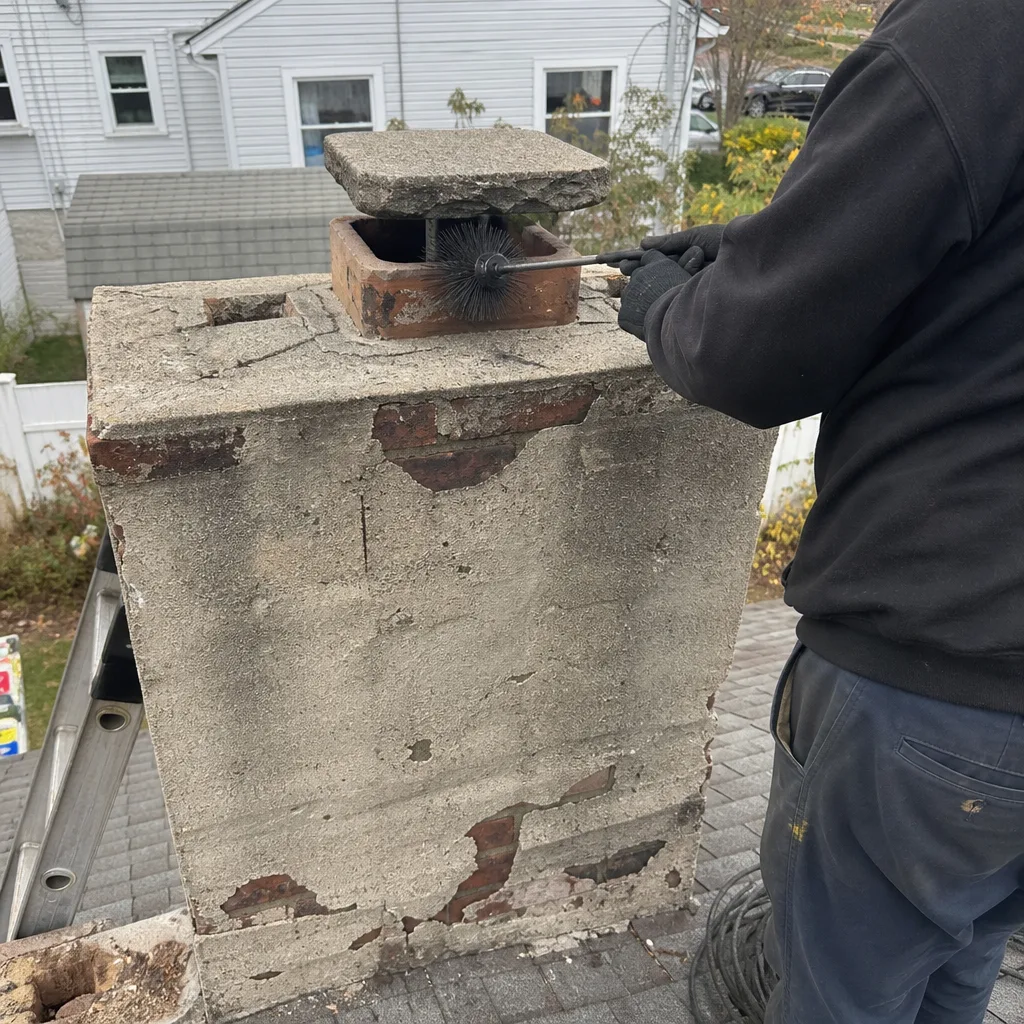 Before
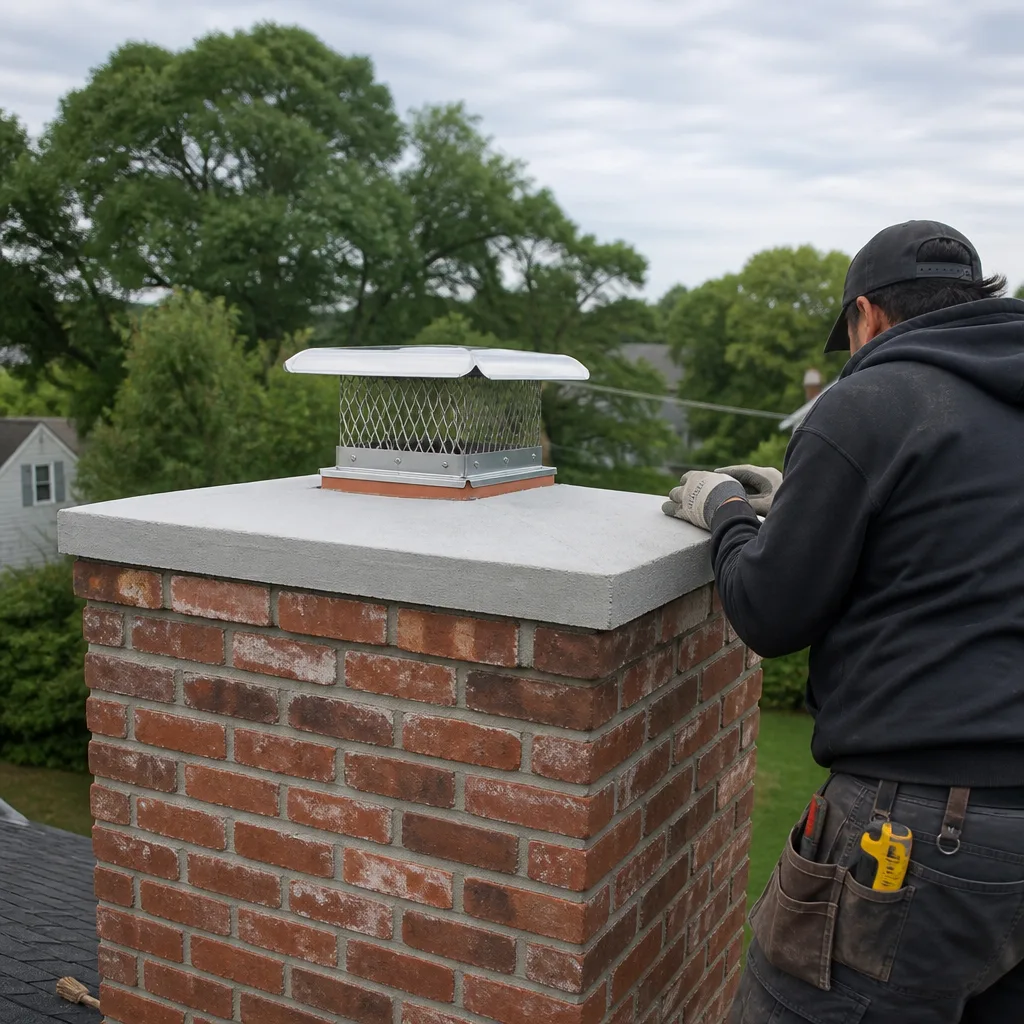 After
After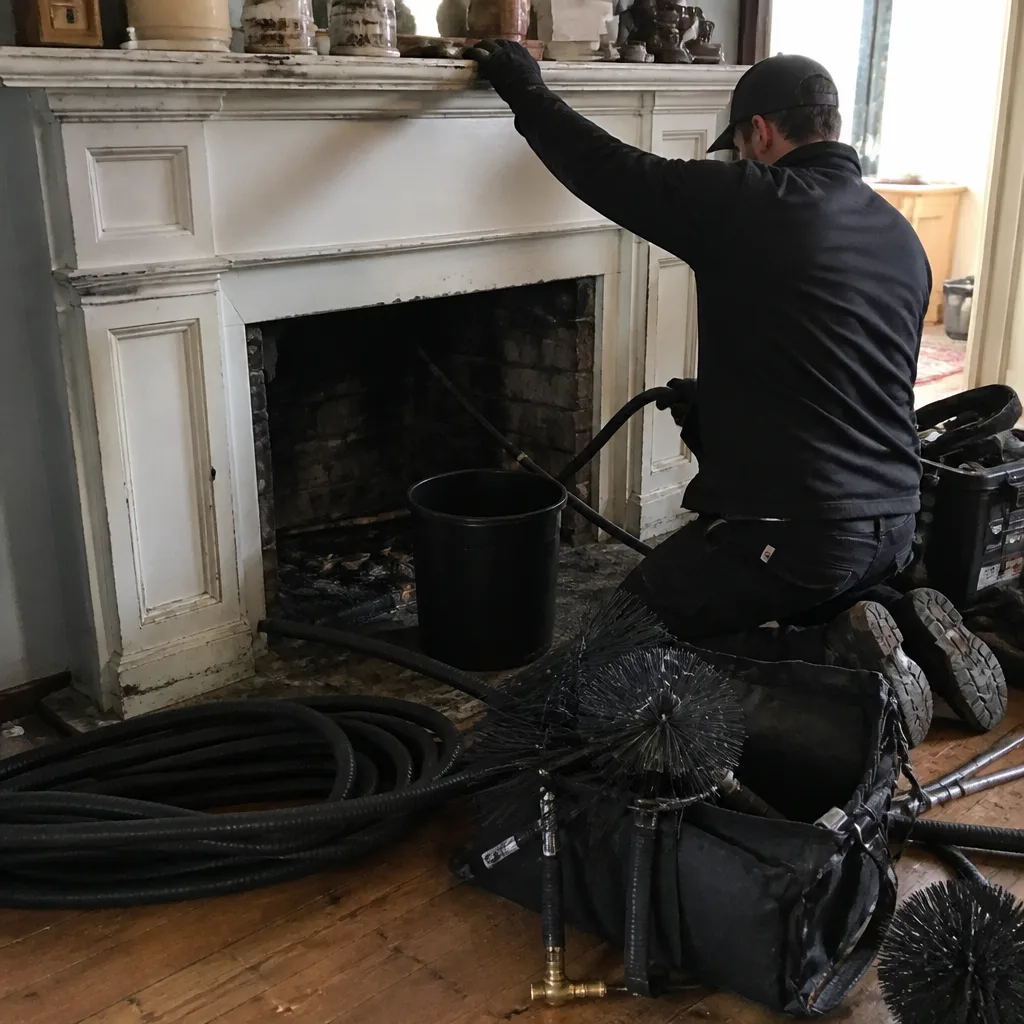 Before
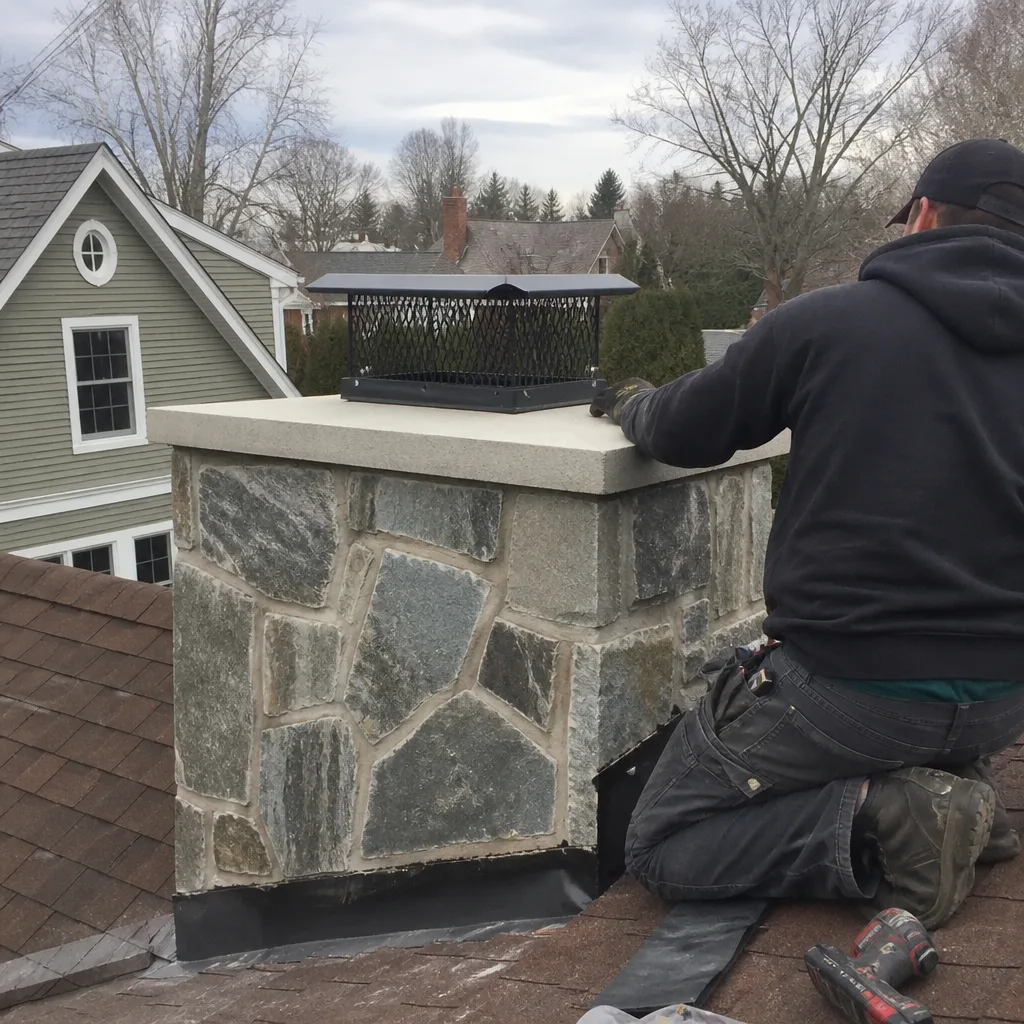 After
AfterHeatShield Crown Repair: The Long Island Owner’s Guide
HeatShield crown repair on Long Island typically runs $400 to $900 installed, depending on crown size and how much of the old surface needs to come off before we apply the HeatShield system. We stock HeatShield-compatible crown materials on the truck, and in most cases we can complete the repair in a single visit. The way most homeowners find out their crown has failed: they see hairline cracks from the ground, or water starts streaking down the brick face after a hard rain, or pieces of mortar show up in the gutter after a winter thaw.
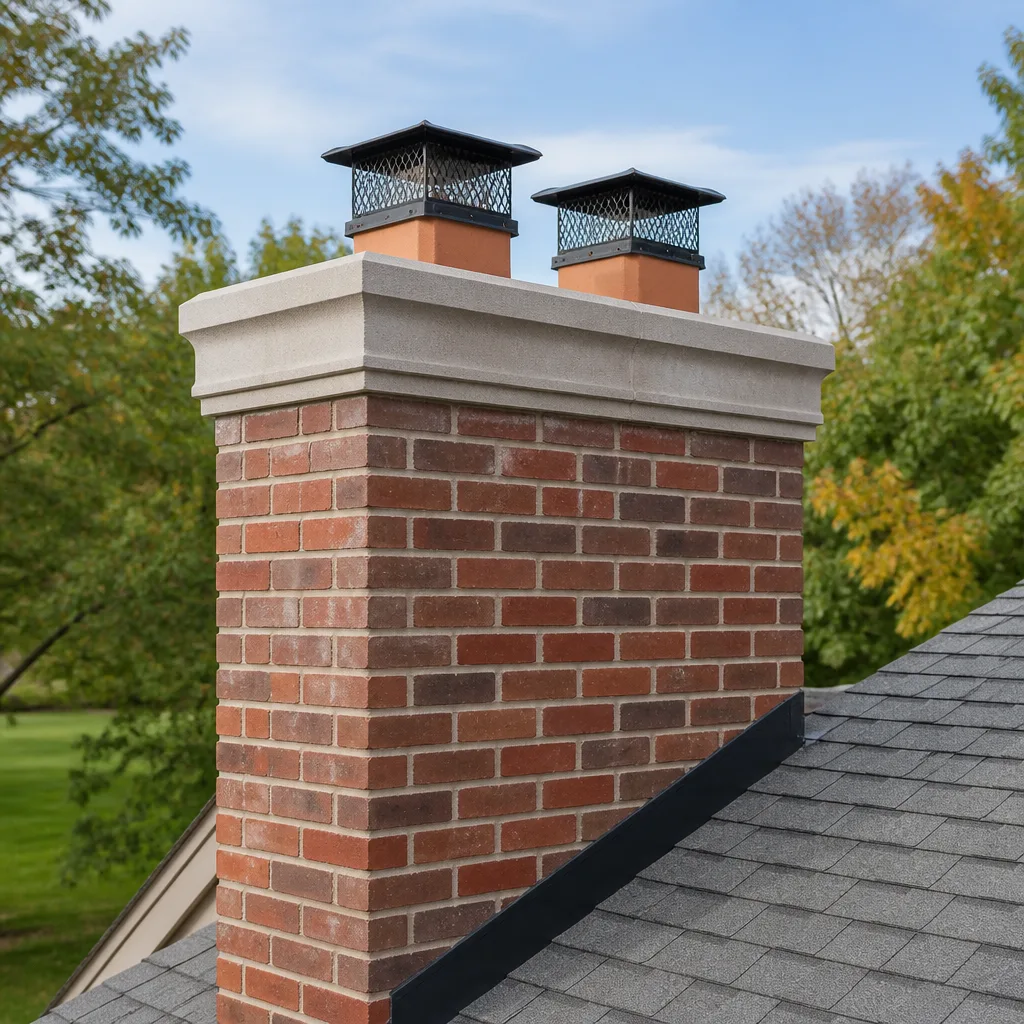
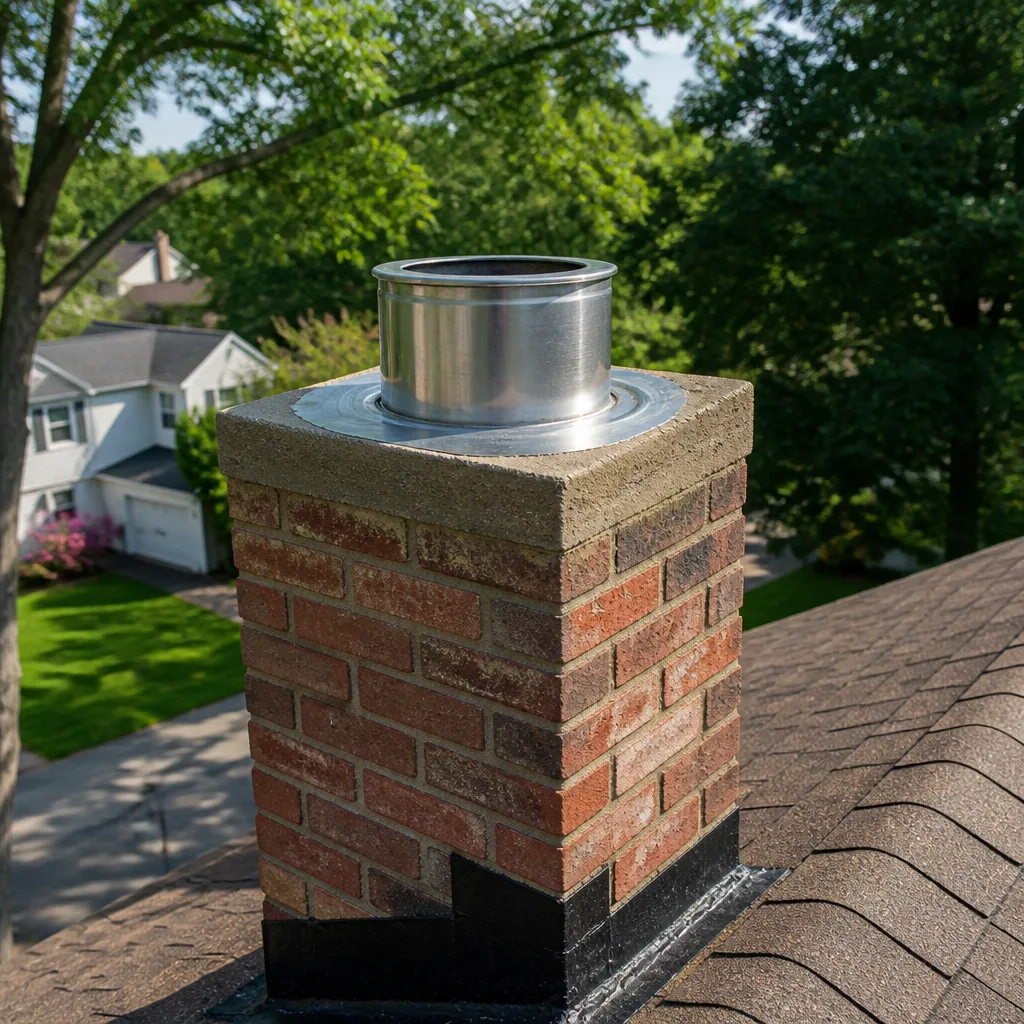
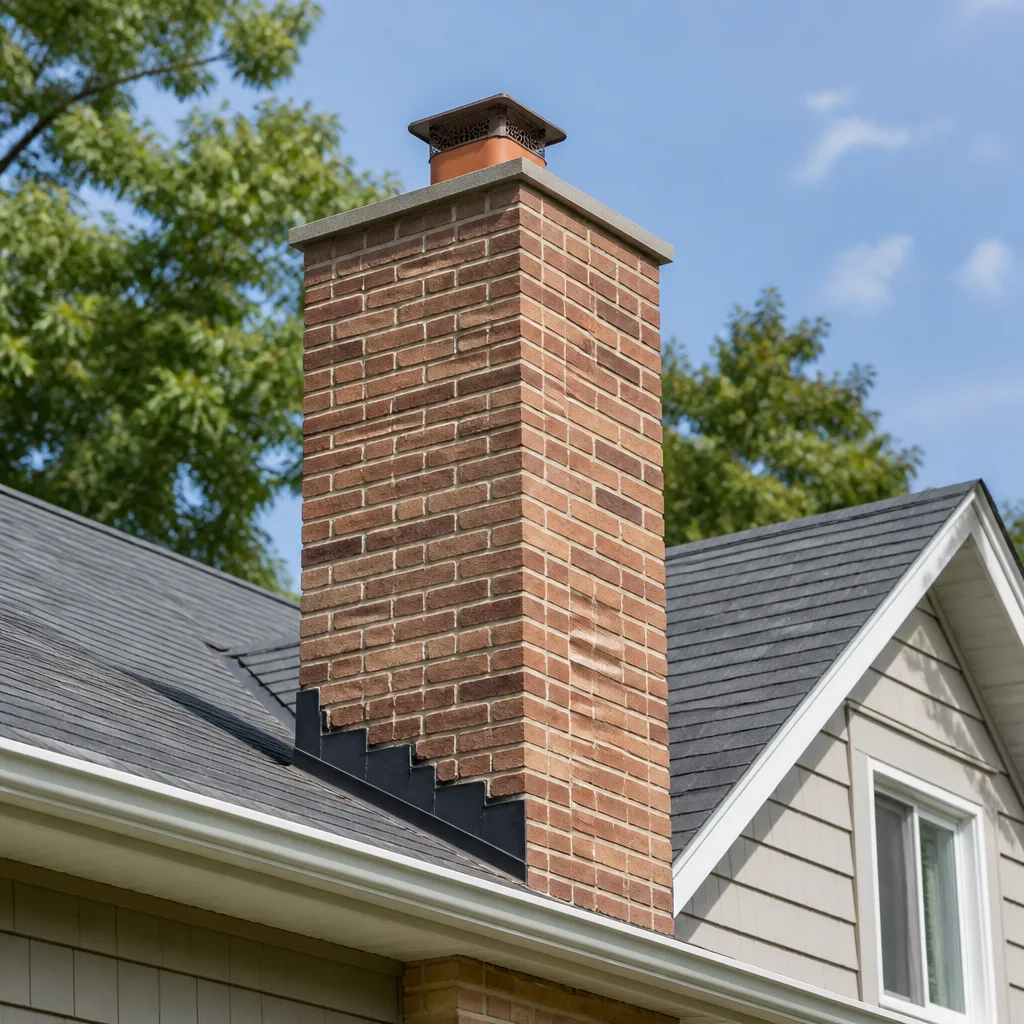
A chimney crown is the concrete slab that caps the top of the chimney, sealing the flue tiles and keeping water out of the brickwork. When it starts spalling or cracking, water gets in, freezes, and makes the problem bigger every season. Long Island’s freeze-thaw cycles in January and February are rough on crowns, and once water finds a path in, it doesn’t fix itself. Wendell Pike and our crew have repaired hundreds of these across the island, from Wantagh to Huntington, and the failure pattern here is more predictable than most homeowners realize.
We’re an independent chimney company, by the way. We install and service HeatShield products because they hold up to Long Island weather, but we’re not owned by or affiliated with HeatShield. That means when we tell you a crown can wait another season, we’re not protecting a brand quota. If it doesn’t need fixing, we’ll tell you that first.
Which HeatShield Models This Applies To
HeatShield’s crown repair system is designed for masonry chimneys with a poured concrete crown, and it works across the full HeatShield lineup. Whether you have a standard single-flue crown, a multi-flue crown, or a crown with a wash built into the design, the repair material bonds to the existing concrete. The key compatibility factor is material, not model. HeatShield crown coat is formulated for concrete and masonry crowns. If your crown was rebuilt at some point with some oddball mix, or someone slathered roofing tar over it, the prep work changes.
Here’s a gotcha we see on Long Island regularly: older colonials and ranches built in the 1950s through the 1970s often have crowns poured too thin, with no drip edge, and no expansion gap around the flue tiles. The HeatShield repair will seal the surface, but if the crown itself is undersized and water is getting underneath it, sealing the top is a half measure. We’ll tell you that on the inspection, before any coating goes on. The good news: most crowns we see from the Levittown era are thick enough and just need surface restoration, not a full pour.
When we source materials for HeatShield crown work, we use genuine HeatShield products rather than generic aftermarket equivalents. The crown coat has specific adhesion and flexibility properties that generic concrete sealers don’t match, especially through freeze-thaw cycles. We also stock DuraFlex and Gelco products for related liner and cap work, but for crown sealing specifically, HeatShield is what goes on.
How to identify what you have: walk around the house and look up. If the concrete cap at the top has a textured, sandpaper-like coating that looks newer than the brick, that’s likely a prior HeatShield application. If you see bare concrete with spider cracks, it’s an uncoated crown. Either way, the measurement that matters is the outside dimension of the brick at the crown line, not the flue size.
Signs Your HeatShield Crown Repair Is Failing
A properly applied HeatShield crown coat should last 10 to 15 years on Long Island before it needs attention. When it does start to fail, the signs are usually visible from the ground if you know what to look for:
- White efflorescence streaking down the brick face. Water is soaking through the crown and carrying mineral salts out through the masonry. This shows up most after a heavy rain, when the brick darkens and then dries with a chalky film. It means the seal coat has micro-fractures that are letting water migrate through.
- Small pieces of the coating in gutters or on the roof. Spalled sections of HeatShield crown coat are usually gray or off-white and feel like coarse sandpaper on one side. If you find them after a wind storm, the coating has lost its bond in at least one spot and is starting to lift.
- Visible cracks wider than a hairline in the coating. Hairline cracks are common and not always urgent. Cracks wide enough to fit a coin edge are water channels, full stop. Water gets in, freezes, and by spring the crack is double the width it was in November.
- Water inside the firebox after rain. This one gets blamed on the cap or the flashing a lot of the time, but a failed crown coat can absolutely let water run down the inside of the chimney structure and into the firebox. If the damper is rusted and you see water stains inside, the crown is one of the first places we check.
- Moss or dark staining on the crown surface itself. Standing water or a surface that never fully dries tells you the slope and the seal are both working against you. The HeatShield coat should shed water, not hold it. Green growth means it’s holding it.
Replacement Cost & What’s Included
On Long Island, a HeatShield crown repair with us runs $400 to $900 installed. That’s the full job: wire brushing and prep of the existing crown surface, filling any small divots or cracks with the appropriate patching compound, applying the HeatShield crown coat to the manufacturer’s thickness spec, and sealing around flue tiles where they meet the crown. If we find the crown itself is badly deteriorated and needs a full concrete re-pour before coating, that’s a different job and we’ll show you the camera footage before we quote a dollar.
What drives the price:
- Crown size and shape. A single-flue ranch crown is smaller and faster than a wide multi-flue crown on a two-story colonial. More square footage, more material, more ladder time.
- Access. A steep roof pitch or a chimney in the middle of a roofline takes longer to work around safely than one near the edge of the roof.
- Condition of the existing surface. If the old coating is peeling in sheets and needs heavy grinding to get to bondable concrete, the labor goes up.
Every job includes a written quote before we start, and the number on the quote is the number on the invoice. No surprise add-ons after we’re on the roof. The work is backed by our 90-Day Done Right Promise in writing: if something isn’t right, one call brings us back at no charge. And if you have a written estimate from another company, bring it to us for a free second opinion.
DIY or Call Us?
You can absolutely inspect your own crown from the ground with binoculars, or from inside the attic if the chimney chase passes through and you can access the top from inside. Noticing cracks early and calling us before water damage spreads is the single most valuable thing a homeowner can do. What we don’t recommend: getting on the roof with a bucket of sealant. Long Island roofs are pitched, often steep, and the crown is never as easy to reach as it looks from the street. We’ve seen plenty of homeowners buy a $40 crown sealer at the hardware store, spend a Saturday on a ladder, and call us a year later to do the job properly after the stuff peeled.
The crown is also a safety point for the person doing the work, not just the chimney. Walking a roof to reach a crown is how people get hurt, and we do it with full safety gear, roof anchors where needed, and the right staging every single time. We’ll also camera-inspect the crown close up before we coat it, so you see exactly what we’re sealing and why. If the verdict is that it can wait, that’s what we’ll tell you. For a free estimate, call (516) 968-5380.
FAQs
You can expect 10 to 15 years from a properly applied HeatShield crown coat in Long Island’s climate, with annual visual checks. Freeze-thaw cycles shorten any crown coating’s life here compared to warmer regions, so we inspect the crown every time we’re out for a sweep and tell you when the coating is reaching the end of its useful life. Call (516) 968-5380 and we’ll take a look.
Yes, if the damage is isolated. Small cracks and divots can be patched with HeatShield-compatible repair material and sealed locally without recoating the entire crown. The decision comes down to how much of the surface area is compromised and whether the coating is still bonded elsewhere. We’ll show you the close-up camera footage from the inspection so you can see exactly what we’re seeing.
Most single-flue crown repairs are done in two to four hours, start to finish. Multi-flue crowns or crowns needing significant prep may take the better part of a day. The coating needs reasonable weather to cure properly, so we schedule around rain in the forecast. We’ll give you a specific arrival window and call you if anything shifts.
Yes. We keep genuine HeatShield crown coat and patching materials stocked on our service vehicles, so there’s no ordering delay in most cases. If your crown needs a full recoat, we can usually complete it on the first visit once the inspection confirms what’s needed. We also carry DuraFlex and Gelco products for liner and cap jobs that come up during the same inspection.
Call Top Hat Chimney for HeatShield Crown Repair on Long Island
If your HeatShield crown is cracking, peeling, or letting water into the brick, call (516) 968-5380 for a free estimate. We’ll inspect it, show you the camera footage, and give you a plain-English recommendation. If the crown can wait a season, we’ll say so. If it needs work, the price we quote is the price you pay, backed in writing by the 90-Day Done Right Promise. A live person answers the phone around the clock, and you might end up talking to Wendell himself. Seniors and veterans save 10% on every job, always.
Written by Wendell Pike, Owner, Top Hat Chimney at Top Hat Chimney, serving Long Island and nearby areas.