
Level 1 sweep and inspection to the NFPA 211 annual standard - flue, crown, cap, and flashing checked and photographed
Chimney sweep logs do not sweep chimneys. They loosen some creosote - which then falls where a brush and vacuum still have to collect it.
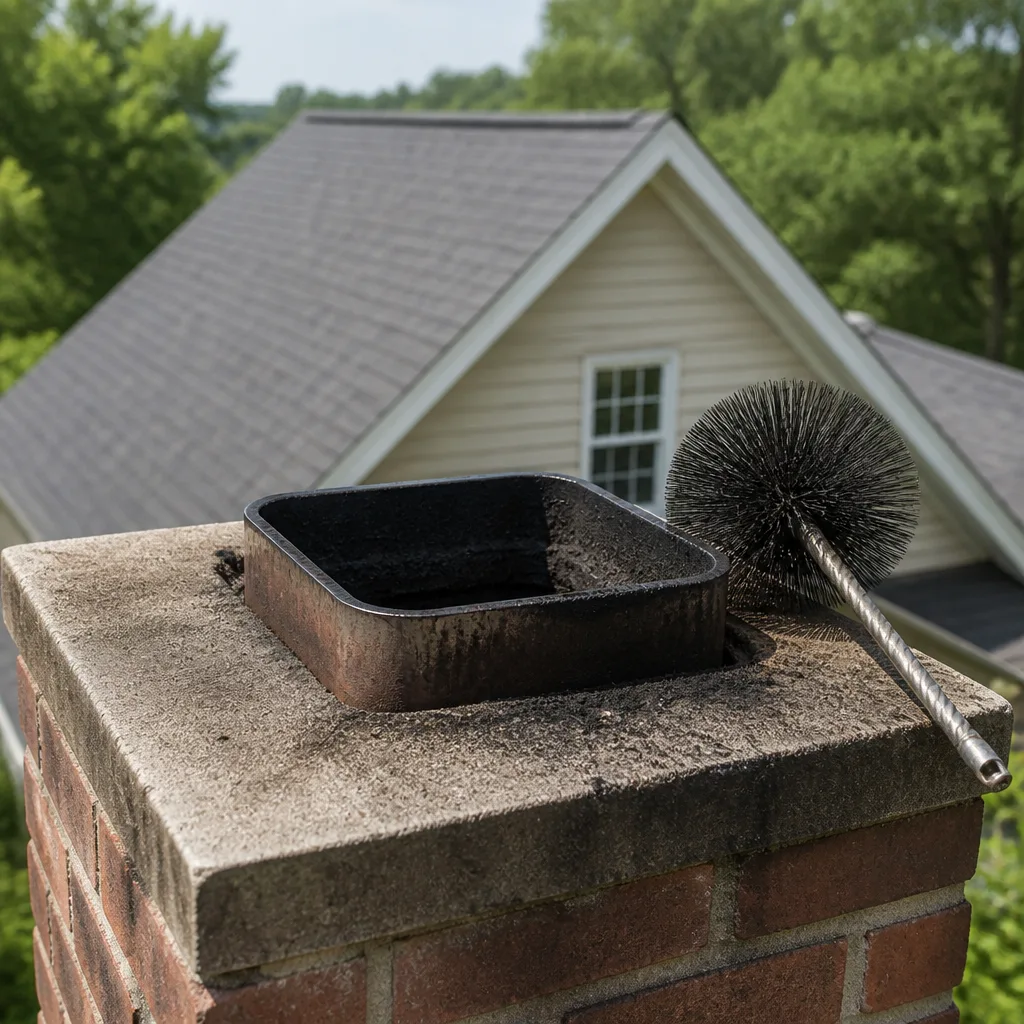
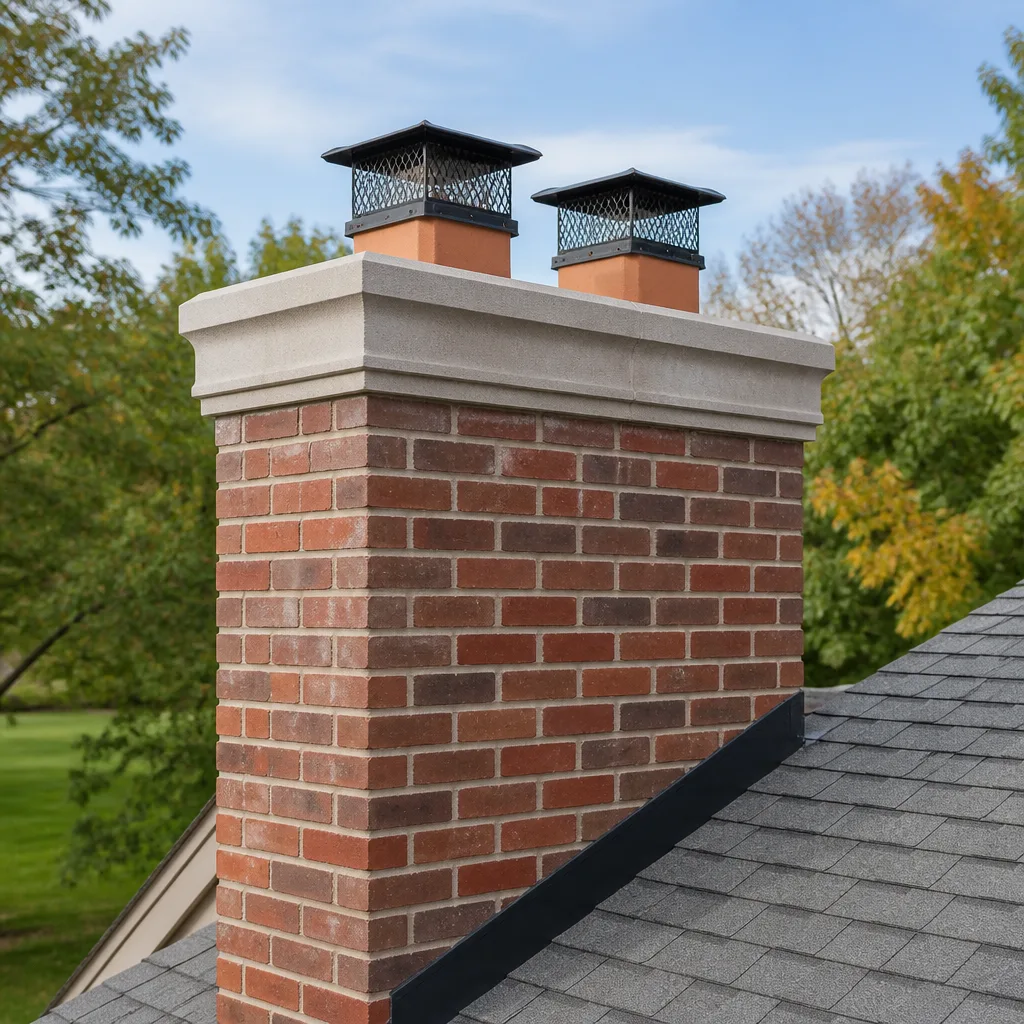
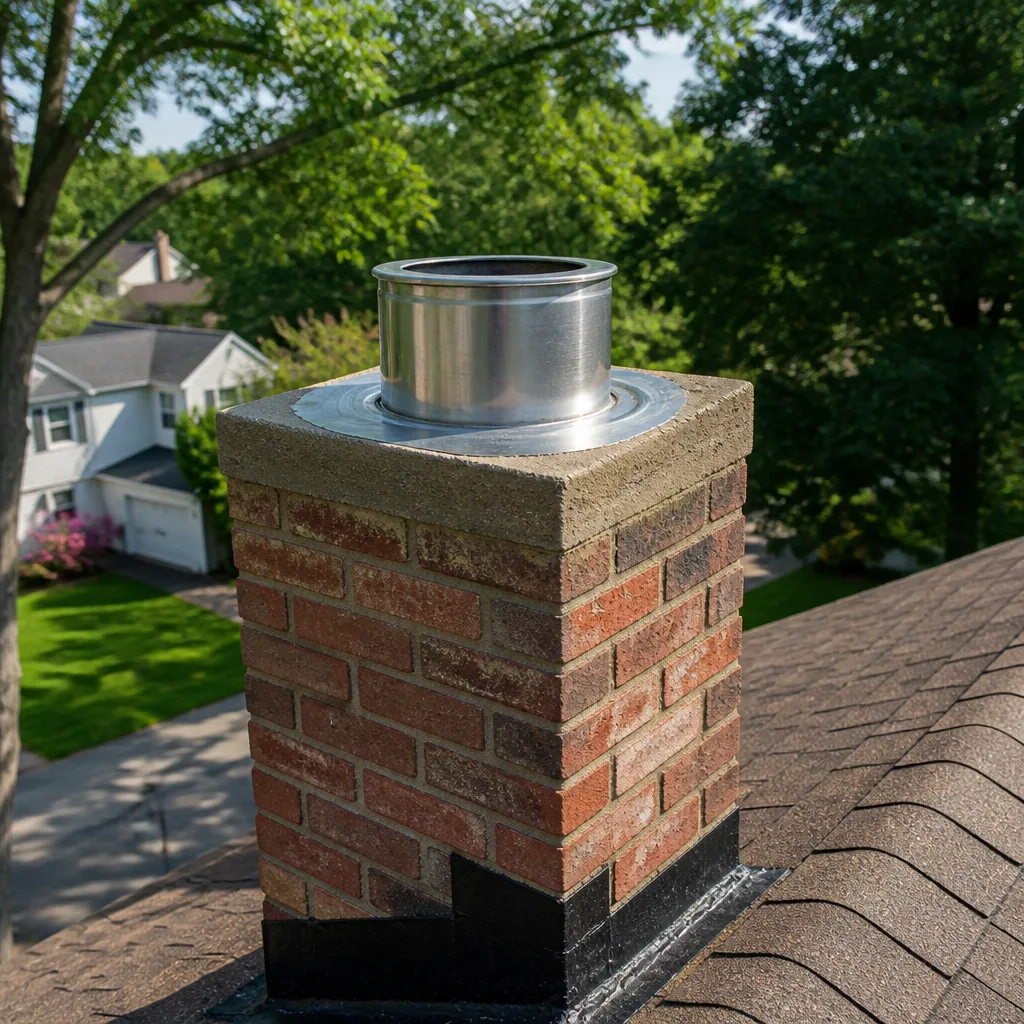
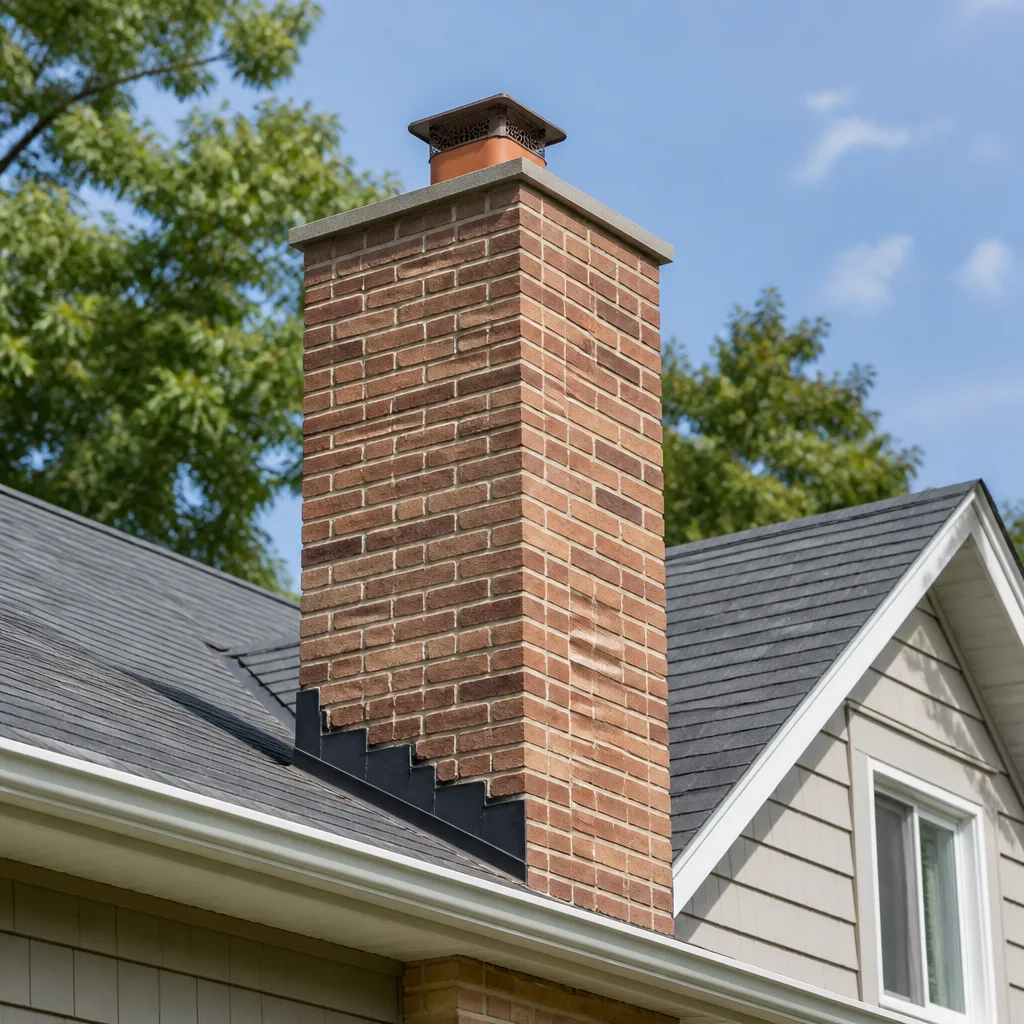
 Before
 After
After Before
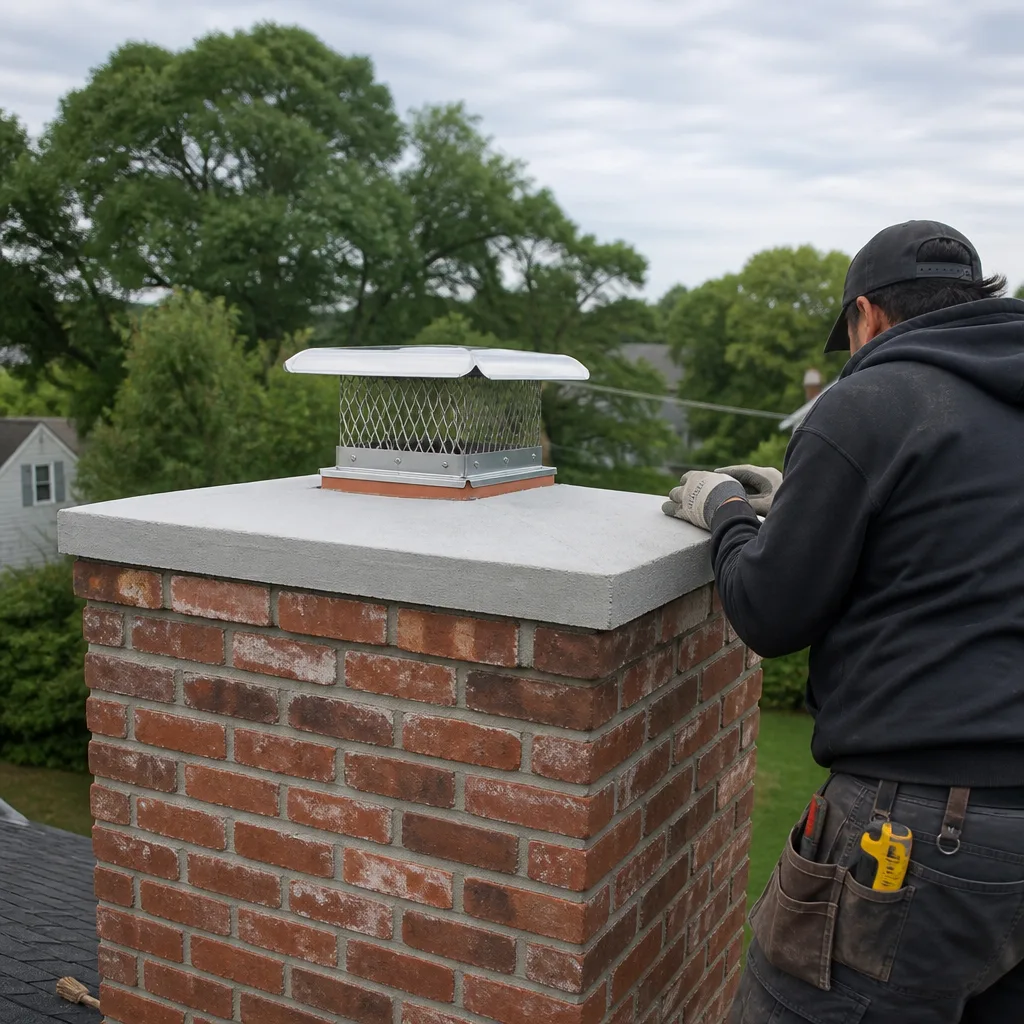 After
After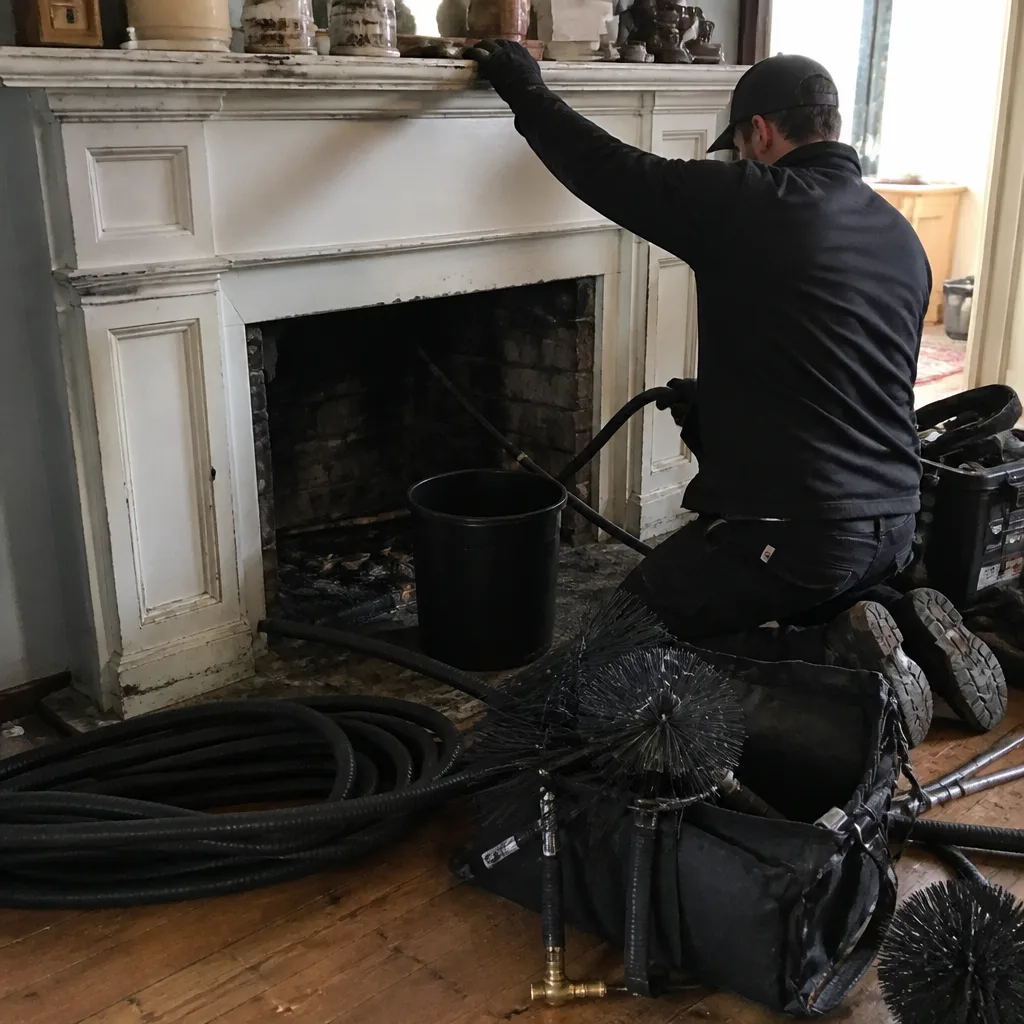 Before
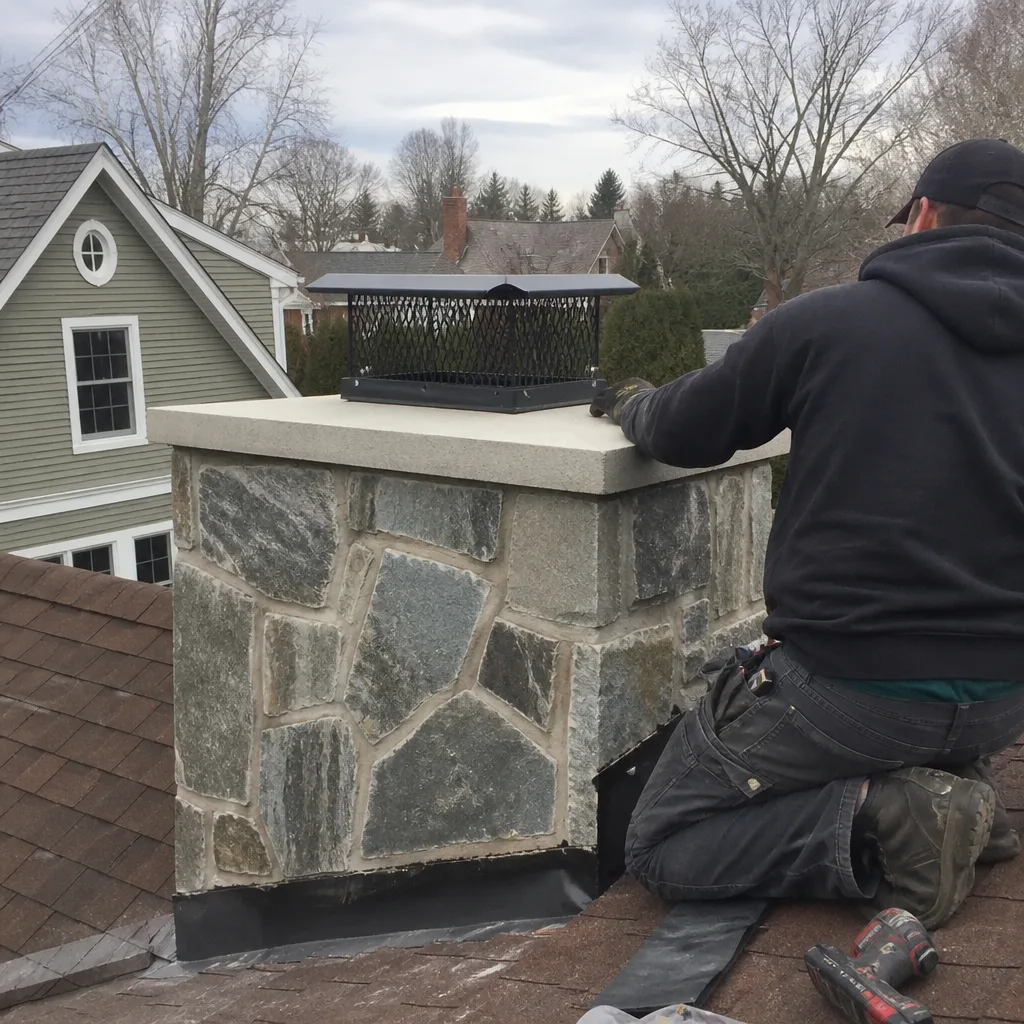 After
AfterGelco Chimney Cap Installation: The Long Island Owner’s Guide
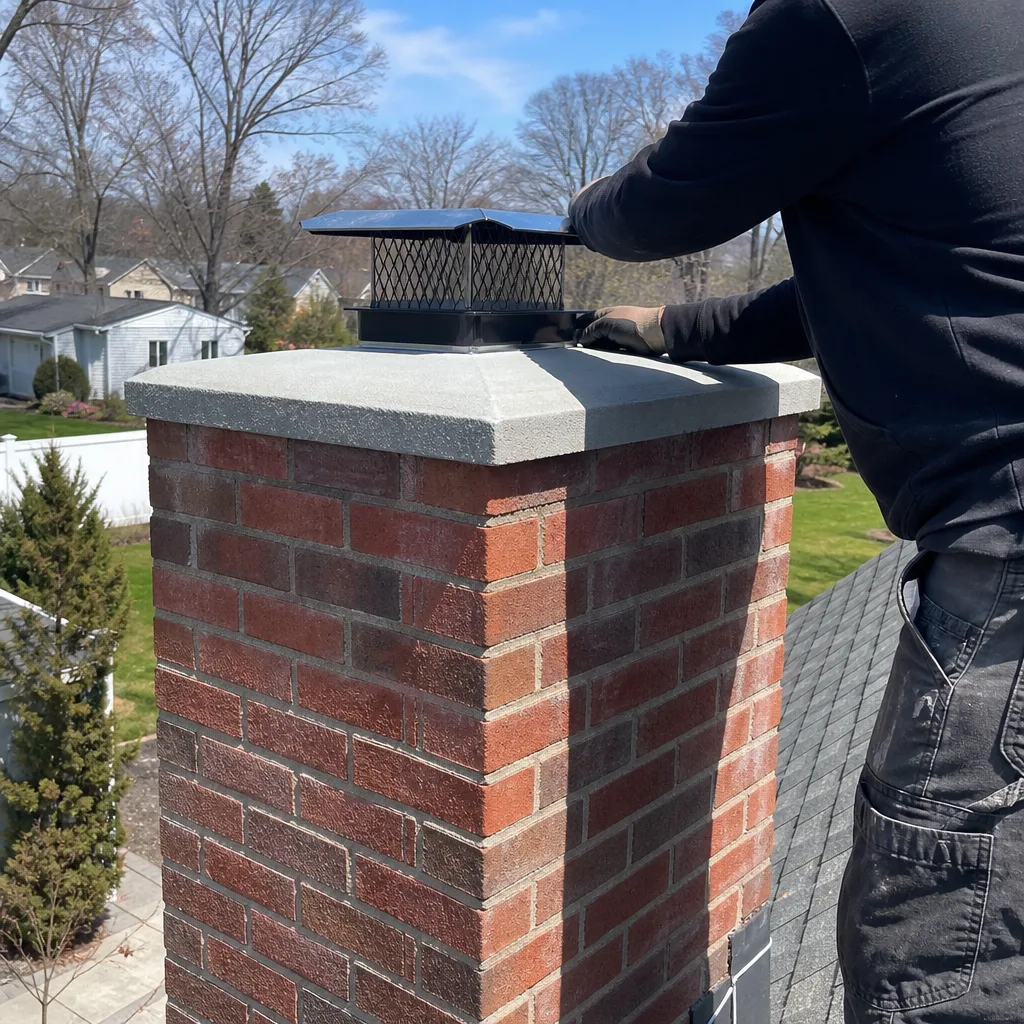
We stock and install Gelco-compatible chimney caps across Long Island, with most installed jobs running between $385 and $720 depending on cap size, flue dimensions, and whether we’re working from a ladder or need roof access. Most installs happen within three to five business days of your call. What usually sends a homeowner looking for this page: they climbed up to check the roof after a storm and found the cap dented, rusted through at the seams, or worse, sitting in the yard after a nor’easter peeled it off the flue tile.
A failed cap isn’t cosmetic. It’s the only thing standing between your flue and Long Island’s rain, snow, squirrels, and the raccoons that have gotten awfully bold in places like Huntington and Sayville. If yours is compromised, the fix is straightforward and we’ll walk you through it honestly.
Key Takeaways:
- We install Gelco-compatible caps in stainless steel, copper, and galvanized finishes
- Installed cost on Long Island typically runs $385-$720
- Most jobs take 60-90 minutes once we’re on site
- Every installation carries the 90-Day Done Right Promise in writing
- Call (516) 968-5380 for a free estimate with upfront pricing
Which Gelco Models This Applies To
Most Gelco caps on Long Island homes fall into one of three lines: the G-Series single-flue caps, the multi-flue models built for wider masonry crowns, and the top-mount units sized for air-cooled metal chimneys. The single-flue G-Series is what we see most often on older colonials and ranch houses from Levittown out to Massapequa. Multi-flue Gelcos show up on larger capstones where two or three flues exit through the same crown.
Here’s the thing that trips people up: Gelco cap sizing runs by the outside dimensions of your flue tile, not the inside opening. A flue that measures 8″ x 8″ on the inside may need an 8.5″ x 8.5″ or 9″ x 9″ cap depending on tile wall thickness. We measure on site before ordering anything, so you’re not guessing from an online chart. If you already have a Gelco cap and only need the mounting hardware or a replacement lid, we can often match that without replacing the whole unit.
Top Hat Chimney is an independent service provider, not affiliated with Gelco. We install their caps because they hold up well in coastal air, and we also stock parts from DuraFlex and HeatShield when the job calls for something different.
One other compatibility note worth knowing: Gelco caps with the standard pressure-fit base plate mount to the flue tile with set screws. That’s fine for most clay tile flues. But if your chimney has a stainless steel liner protruding from the crown, the cap needs a different base style entirely. We’ve seen homeowners order the wrong one online and end up with a cap that wobbles in the wind. We’ll tell you which one you actually need before we touch a ladder.
Signs Your Gelco Chimney Cap Installation Is Failing
- Visible rust streaks running down the cap or crown. Galvanized caps on Long Island take a beating from salt air and winter freeze-thaw cycles. Once the zinc coating goes, the steel underneath rusts fast. Stainless is the better call near the water.
- Water in the firebox after a hard rain. If your cap’s mesh is intact but you’re still getting dampness, the cap-to-flue seal has likely failed, or the cap shifted and water is sneaking around the base. We see this a lot on older caps installed with a bead of caulk instead of a proper mechanical fit.
- The cap is loose or rotated on the flue. Wind is the usual culprit. A cap that’s twisted or rattling means the set screws have backed out or the flue tile itself is spalling. Left alone, a loose cap can crack the tile corners.
- Squirrel or bird activity in the chimney. The mesh on a Gelco cap is fine enough to keep most critters out, but a torn panel or a cap that’s no longer seated flush gives them an entry point. You’ll hear scratching, or worse, smell it.
- Debris falling into the fireplace between burns. Leaves, twigs, and roof grit showing up in the firebox means the cap’s mesh is damaged or the cap is undersized for the flue. That debris sits on your smoke shelf and becomes kindling the next time you light a fire.
Replacement Cost & What’s Included
Here’s the honest price picture for Long Island. A standard single-flue Gelco stainless cap, sized for an 8″ or 9″ flue tile, installed, runs between $385 and $520. Larger multi-flue caps and copper models push that range to $720 or slightly more depending on the crown footprint and how many flues need coverage. The cap itself is typically $160 to $310 of that total. The rest is the labor to get on the roof safely, prep the flue tile, and set the cap so it doesn’t shift in the first good wind.
| Scope | Typical Installed Range on Long Island |
|---|---|
| Single-flue Gelco stainless cap (standard sizes) | $385 - $520 |
| Oversized or custom-flue Gelco cap | $520 - $650 |
| Multi-flue Gelco cap on wide crown | $650 - $720+ |
| Copper cap (Gelco or equivalent) | $550 - $750+ |
| Cap removal and disposal only | $75 - $125 |
Every quote is flat and upfront, given before a single tool comes off the truck. The number we quote is the number on the invoice. You’ll also get the 90-Day Done Right Promise in writing: if the cap shifts, leaks, or wasn’t set right, one call brings Wendell back at no charge. And if you’re over 65 or a veteran, there’s a standing 10% discount on the whole job.
DIY or Call Us?
There’s a split here, and I’ll give it to you straight. If you just want to check whether your cap is damaged, you can do that from the ground with a good pair of binoculars. Look for rust, gaps between the cap base and the flue tile, and torn mesh. If the cap is missing entirely, you already know the answer.
What I don’t recommend is doing the install yourself unless you’re comfortable working on a roof with proper safety gear and have done flue work before. The risk isn’t the cap itself, it’s the roof access, the ladder work, and the fact that a cap that’s not sized or seated right will fail again in a year and you’ll be back where you started. If it doesn’t need fixing, I’ll tell you that first. But if it does, the job is 60 to 90 minutes for a crew that does this every week. Call (516) 968-5380 and we’ll give you an honest number.
FAQs
A galvanized Gelco cap in Nassau or Suffolk County typically lasts 6 to 10 years before rust compromises it; a stainless cap on an interior flue can go 15 to 20. Coastal salt air and winter ice accelerate the timeline. Call (516) 968-5380 and we can look at yours and tell you what’s realistic for your location.
Sometimes, yes, if the damage is limited to a bent lid or a torn mesh panel that’s still available from Gelco, we can swap the component instead of the whole cap, usually saving you $100 to $200. If the base plate is rusted or the set screws have chewed through the metal, replacement is the honest call. Call (516) 968-5380 and we’ll tell you which one applies before any work begins.
Most single-flue Gelco cap installations take 60 to 90 minutes on site, from setting the ladder to cleaning up. Multi-flue caps on wide crowns can run up to two hours. Call (516) 968-5380 and we’ll give you a real arrival window and call if anything slips.
We keep common single-flue Gelco stainless caps in the most common Long Island sizes on the truck, so many installs are one trip. Odd sizes, copper, and multi-flue units run three to five business days to source. Call (516) 968-5380 with your flue tile measurements and we’ll tell you if yours is a same-trip job.
Written by Wendell Pike, Owner, Top Hat Chimney at Top Hat Chimney, serving Long Island and nearby areas.