
Last updated September 10, 2026
Level 1 sweep and inspection to the NFPA 211 annual standard - flue, crown, cap, and flashing checked and photographed
Chimney sweep logs do not sweep chimneys. They loosen some creosote - which then falls where a brush and vacuum still have to collect it.
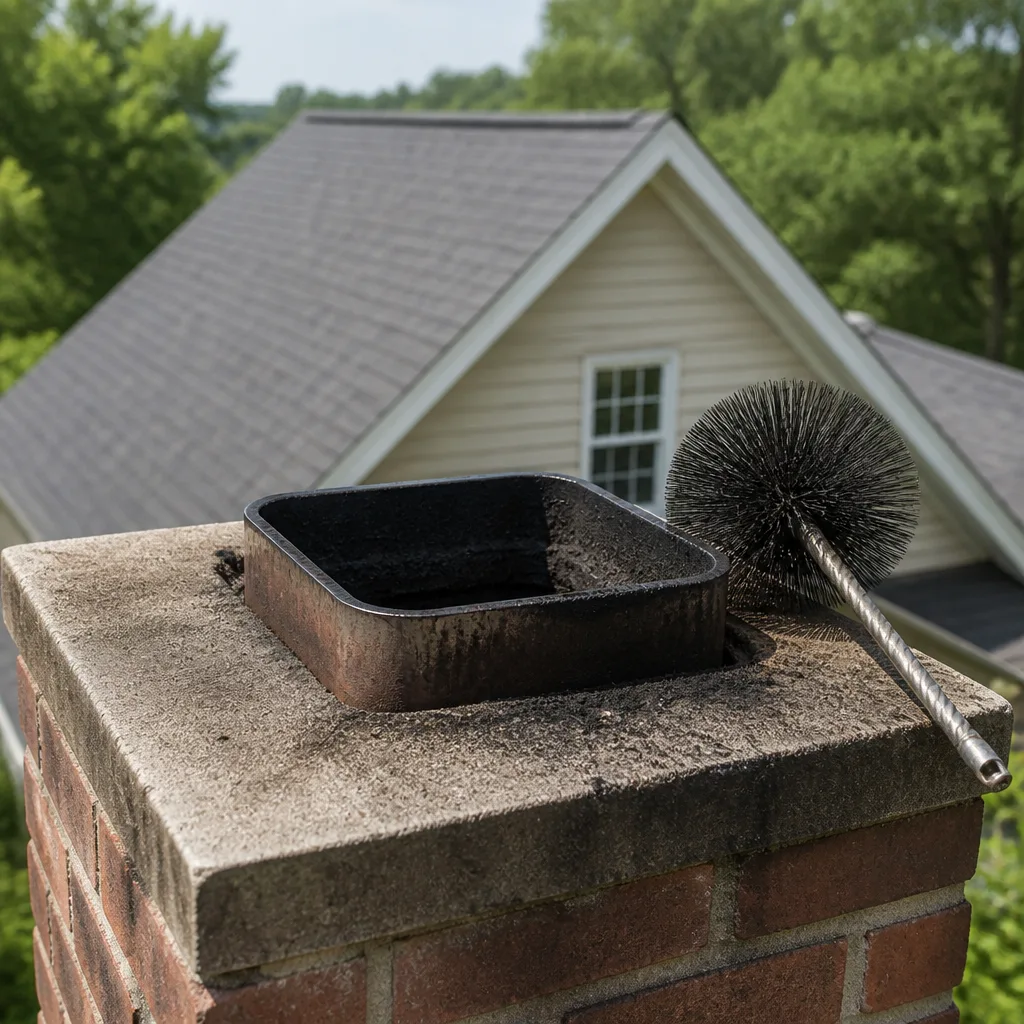
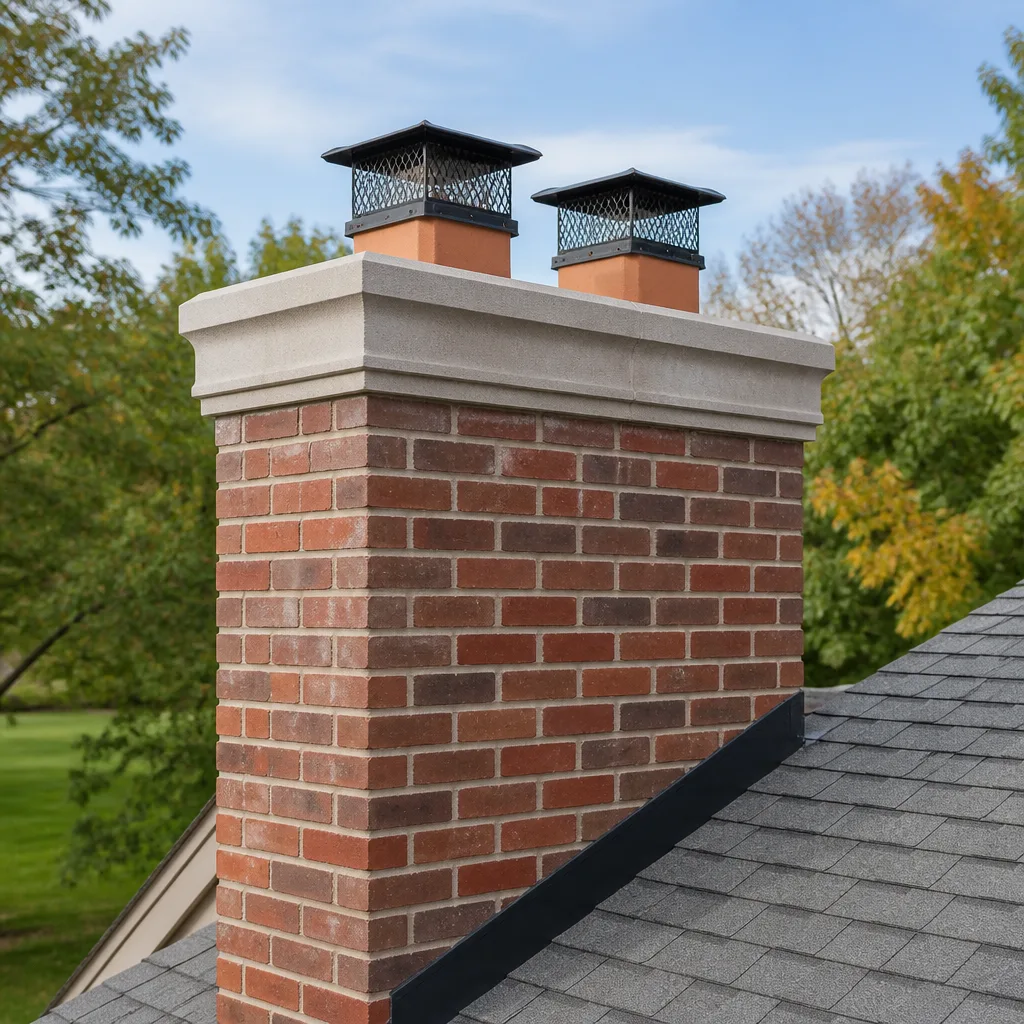
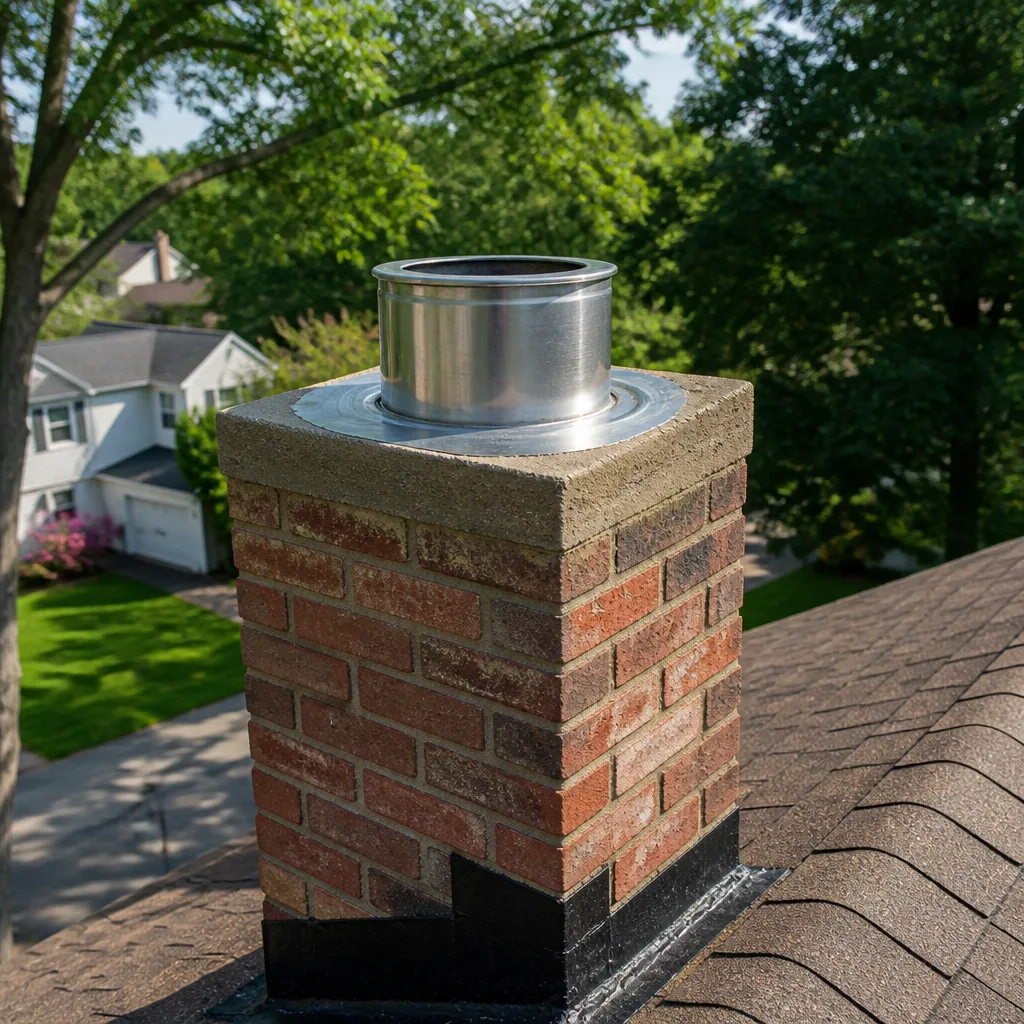
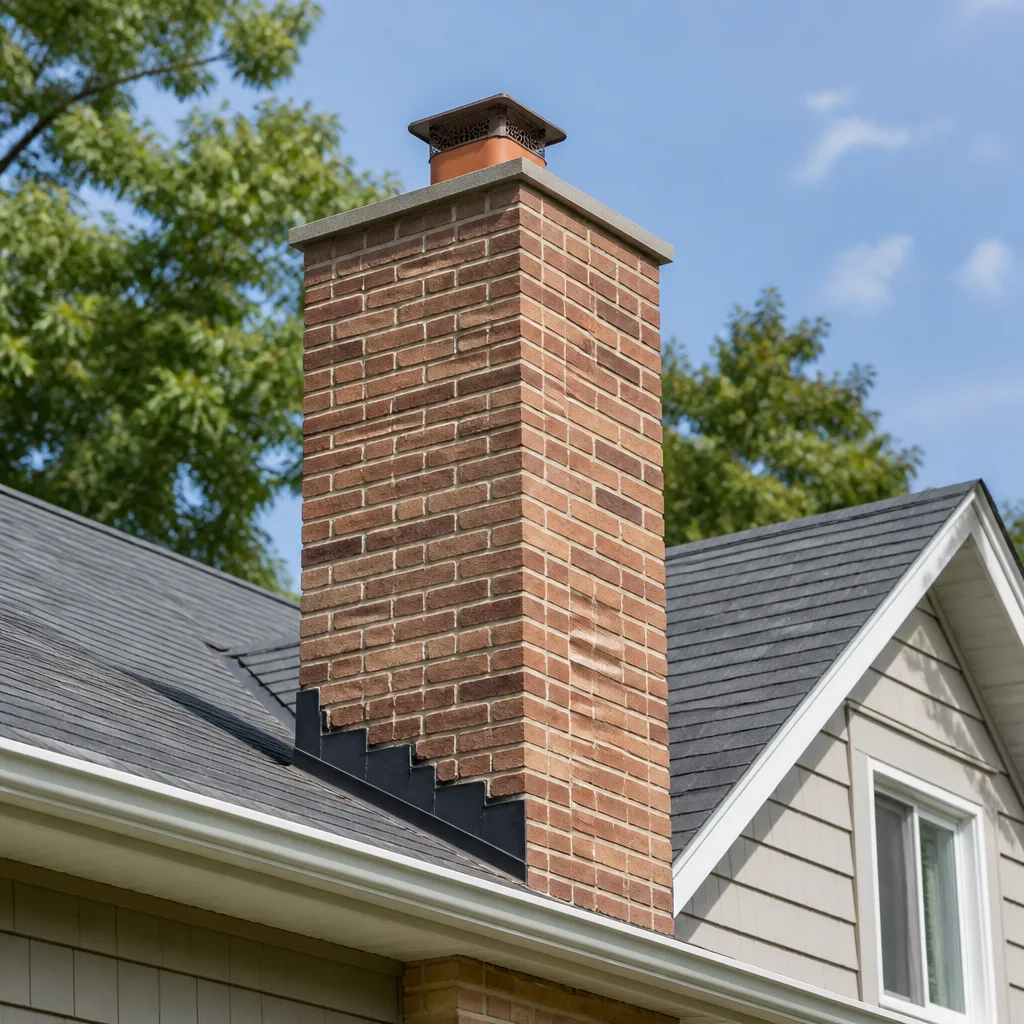
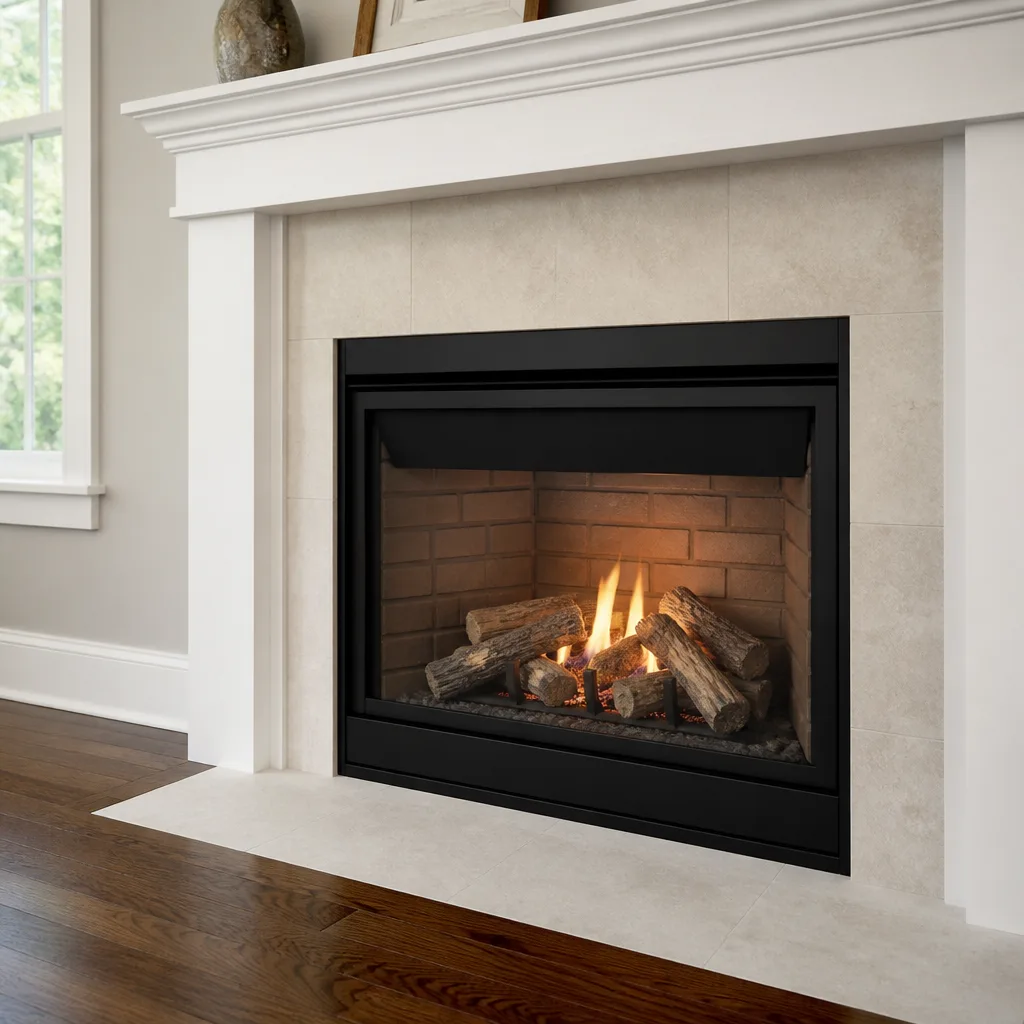
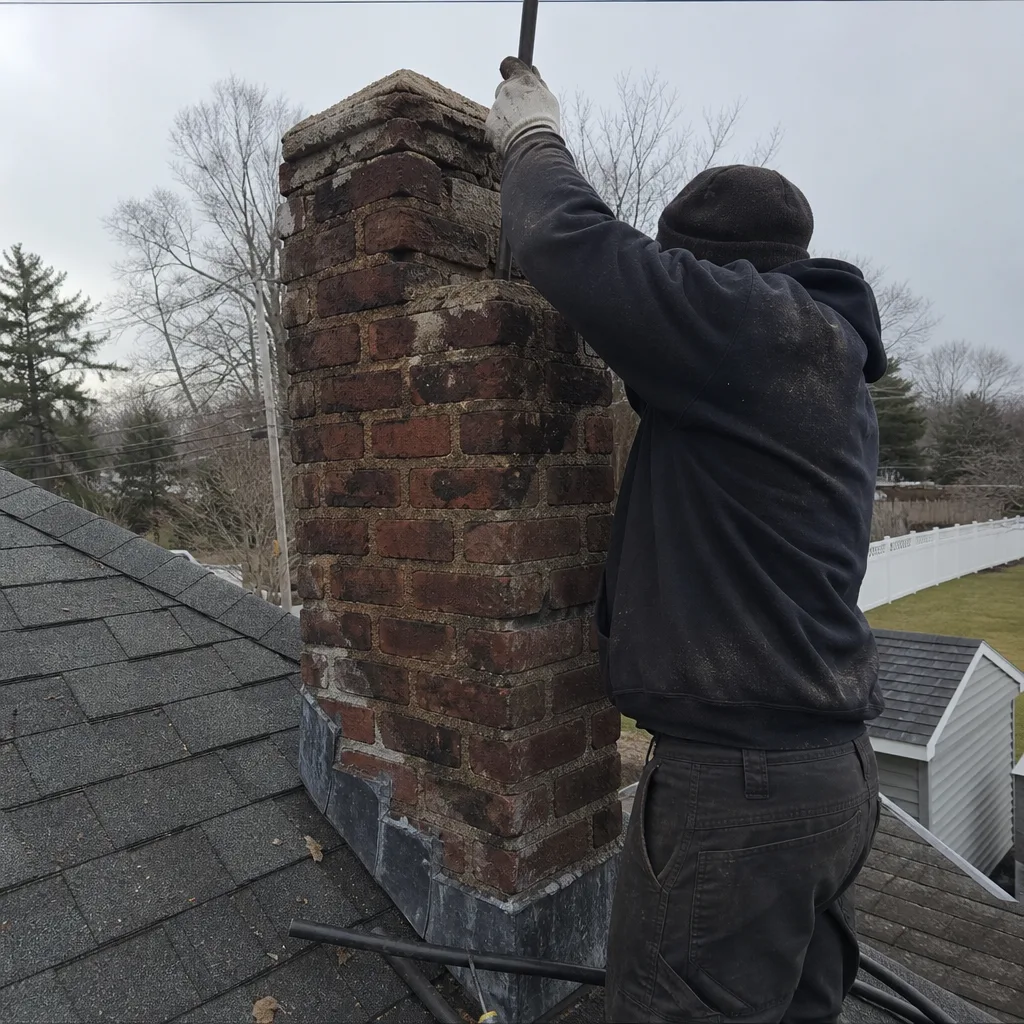 Before
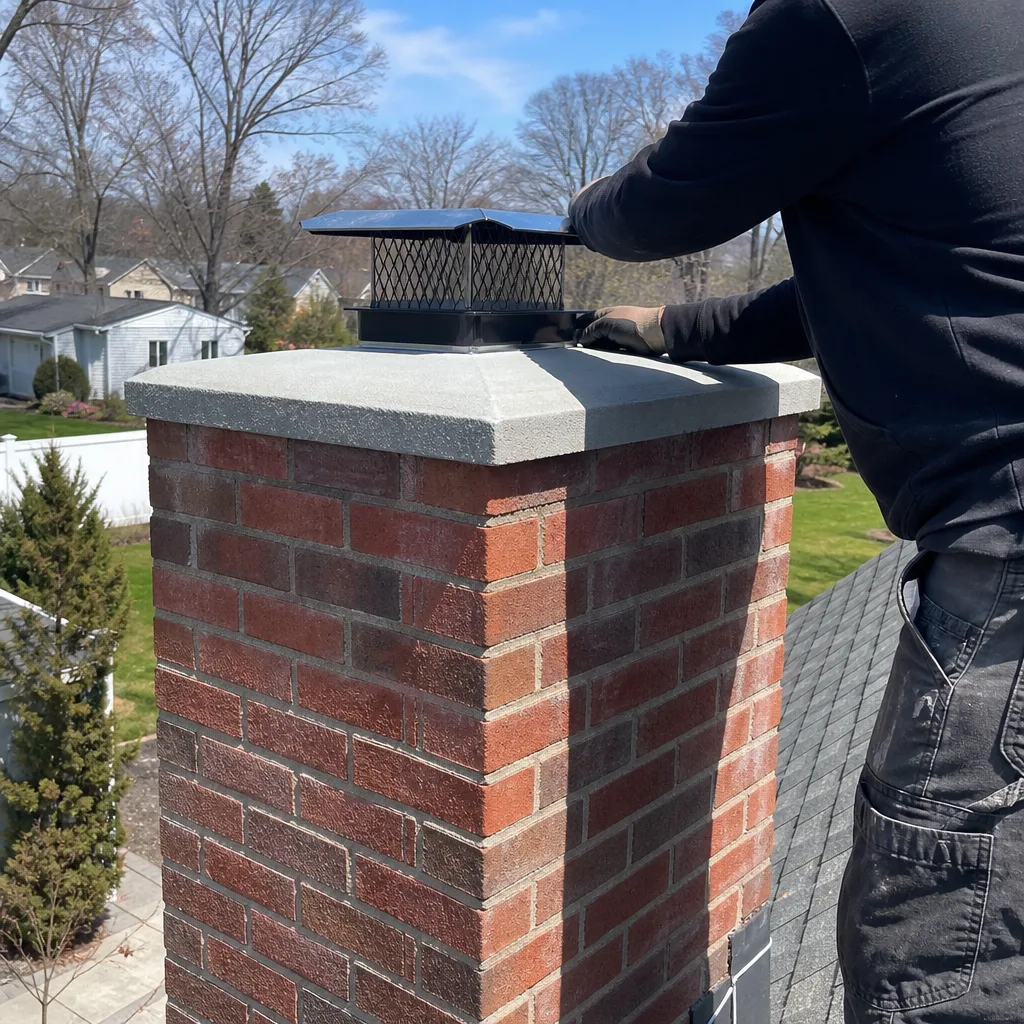 After
After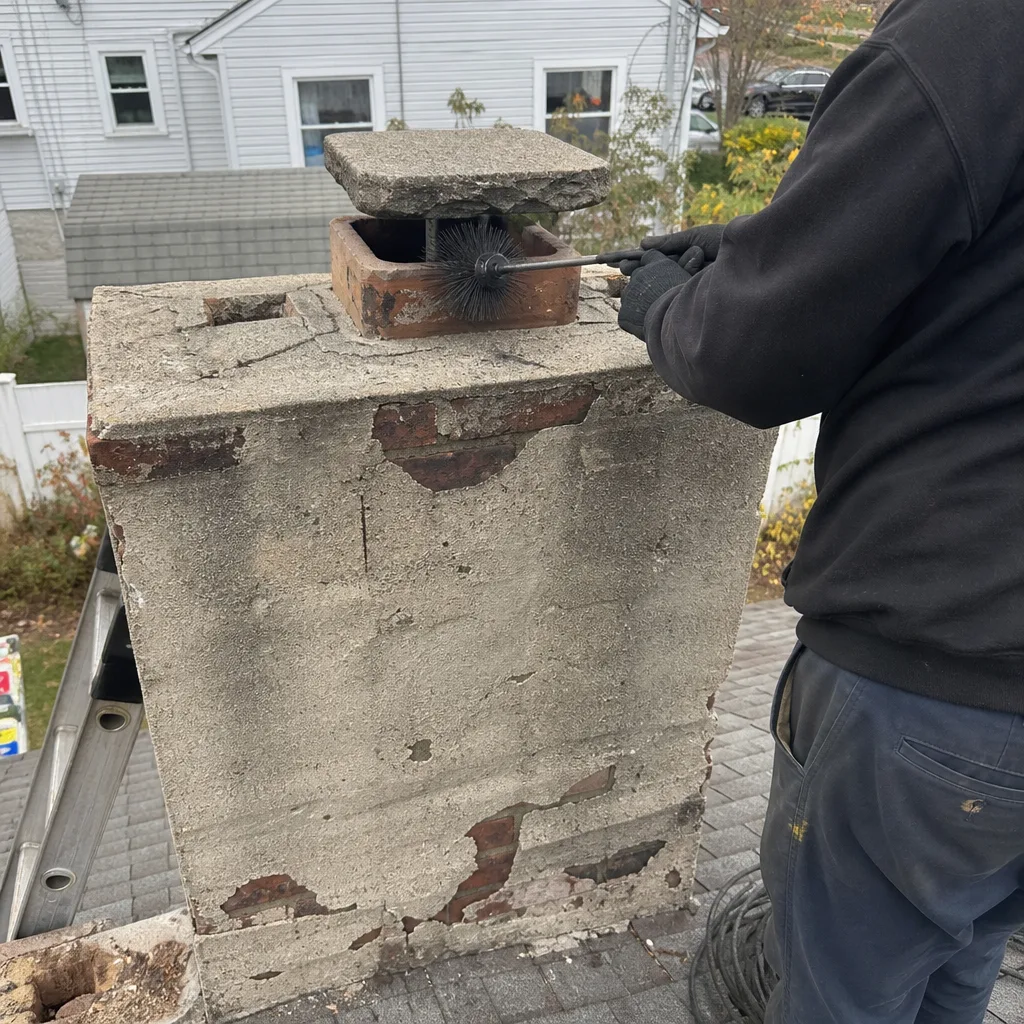 Before
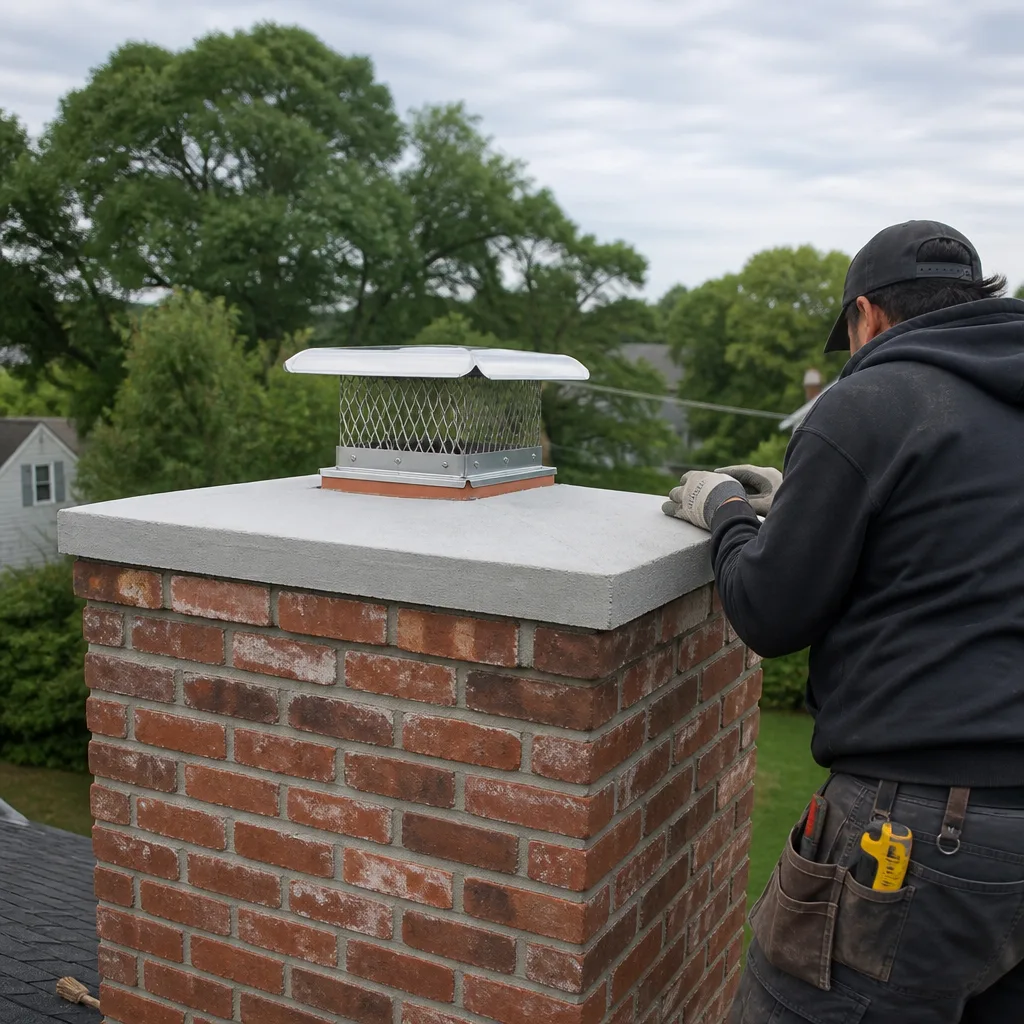 After
After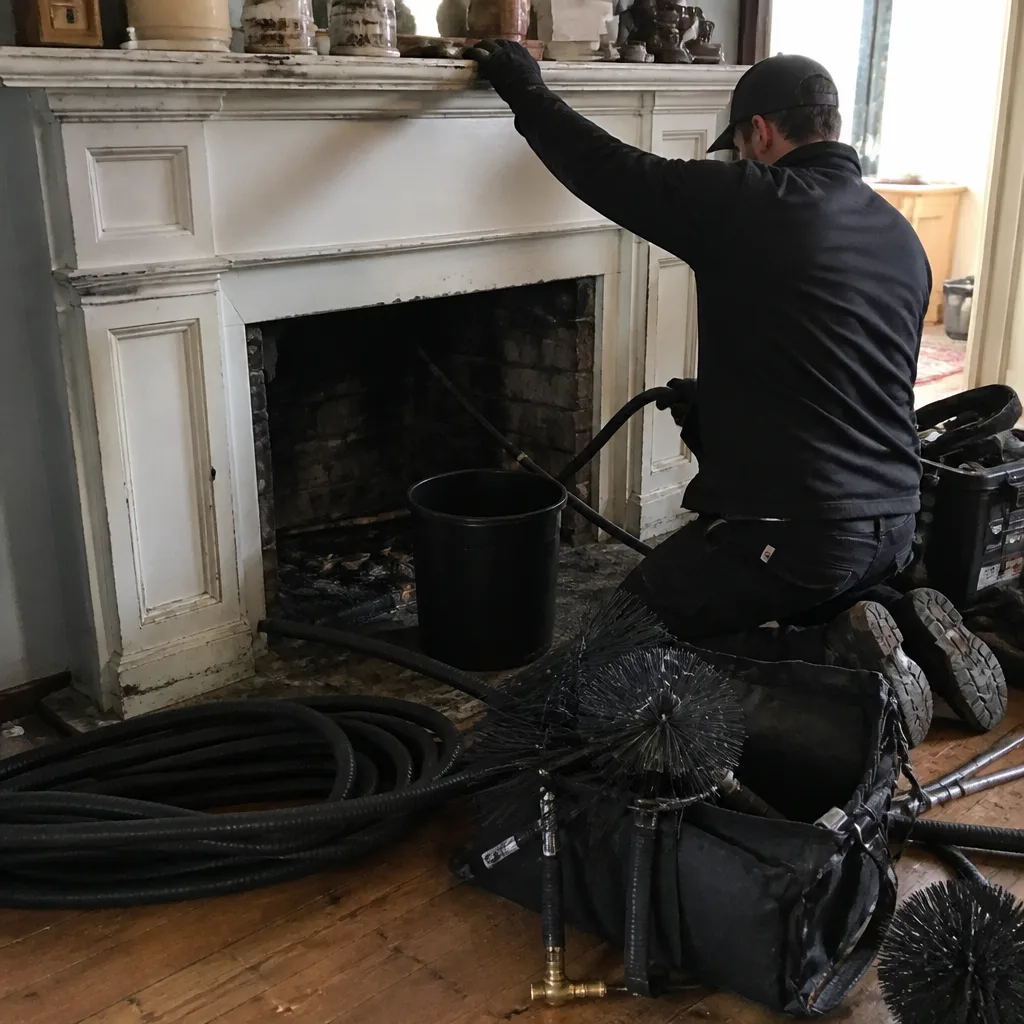 Before
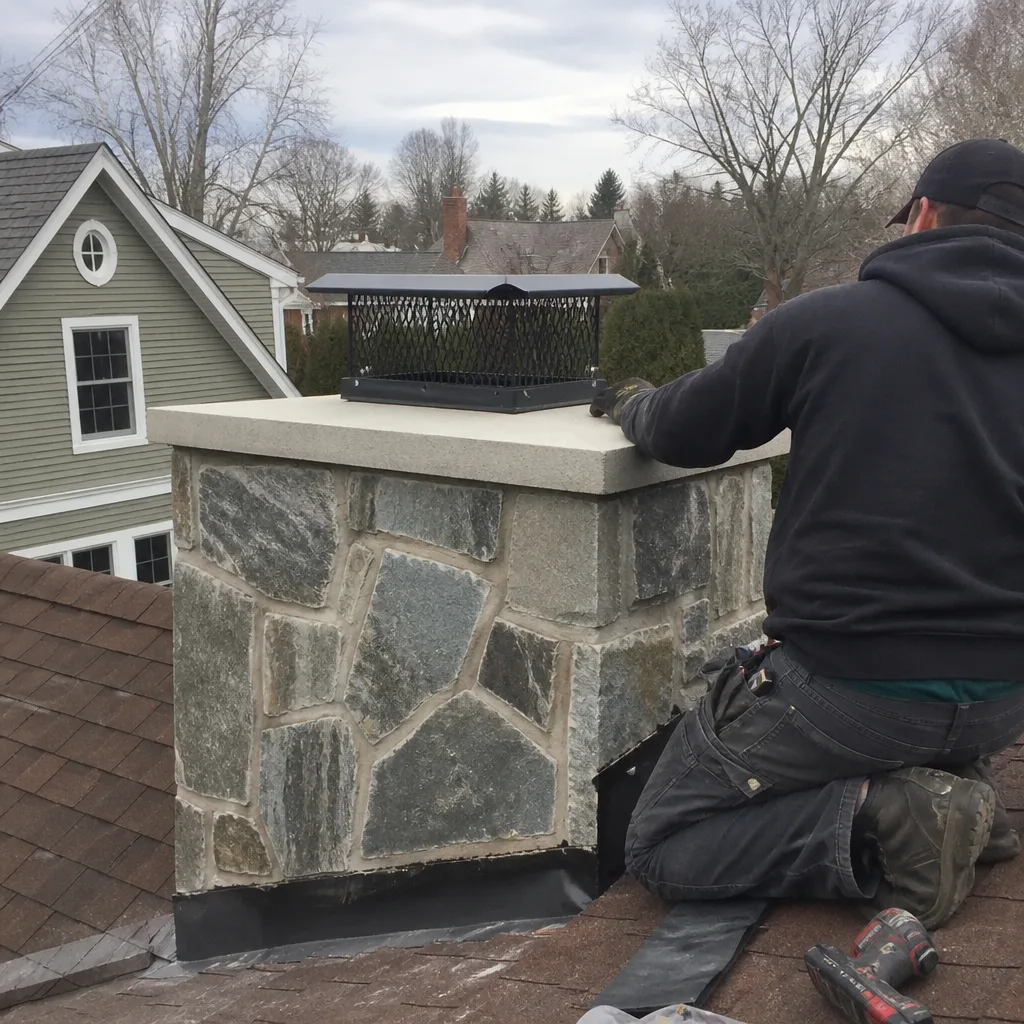 After
AfterChimney Cleaning & Sweep Maintenance Checklist for Long Island Homeowners
The most dangerous item on any chimney checklist is the one that looks fine from the living room floor. A compromised flue liner shows zero visible signs until smoke starts backing up into the house, or worse, a fire starts inside the wall cavity. We’ve opened chimneys on Long Island that looked spotless from the hearth and carried a fire risk that would have kept the homeowner up at night if they’d known. This guide splits what you can honestly see and check yourself from what takes a trained eye, a flashlight, and thirty feet of ladder, so you’re not missing real problems because you thought you already looked.
Quick Answer
A proper chimney maintenance program on Long Island means a professional Chimney Cleaning & Sweep once a year, every year, regardless of how often you burn. Between visits, homeowners should check the firebox, damper operation, visible crown cracks from the ground, and cap security after every major storm. The majority of dangerous conditions, including flue liner deterioration and third-degree creosote glaze, cannot be seen without professional equipment and a camera dropped down the flue. If it’s been more than twelve months since your last cleaning, schedule one before the next burn, not after.
Table of Contents
- What You Can Actually See From the Ground: A Realistic Homeowner Checklist
- What Only a Sweep Can Assess: The Hidden Half of the Checklist
- Long Island Seasonal Checkpoints: Nor’easters, Freeze-Thaw, and Summer Humidity
- Creosote Stages and Why Your Brush Can’t Reach What Matters
- What to Document After Every Cleaning: The Paperwork That Protects You
- The Five Things a Sweep Should Hand You at the End of Every Visit
- Tracking Liner Condition Over Multiple Years: Catch Deterioration Before It’s a Rebuild
- Common Mistakes to Avoid
- When to Call a Professional
- Frequently Asked Questions
- The Bottom Line
What You Can Actually See From the Ground: A Realistic Homeowner Checklist
We’re going to be straight with you: most chimney checklists floating around online ask homeowners to do things they cannot safely or accurately do. You cannot see the flue liner from your driveway. You cannot assess creosote buildup by looking up from the firebox. And you should not be climbing onto a roof in February on Long Island to inspect flashing. Here’s what actually works, what you can honestly evaluate, and when to leave it alone.
Your at-home checklist, done twice a year (October before burn season, April after the last fire):
- Firebox check: Open the damper as wide as it goes and shine a flashlight up. You’re looking for loose bricks, missing mortar joints, or a white powdery residue on the walls. The white powder is water-soluble creosote or efflorescence, both of which signal moisture getting where it shouldn’t be.
- Damper operation: Open and close the damper fully several times. It should move freely without grinding or sticking. A damper that won’t fully close lets heated house air escape up the flue all winter, and a damper that won’t fully open sends smoke back into the room.
- Cap check from the ground: Walk to the street or the far corner of the yard and look at the cap. Is it still there? Is it sitting straight? You’d be surprised how many caps on Long Island get knocked loose by a nor’easter and sit crooked for years, letting rain and squirrels in.
- Crown check from the ground: Look for visible cracks, spalling, or missing chunks along the crown edge. Crowns on Long Island take a beating from freeze-thaw cycles, and a cracked crown is the number one reason liners rust out prematurely.
- Hearth clearances: Check that nothing flammable has crept within three feet of the fireplace opening during the off-season. Firewood stacked too close, kindling, furniture rearranged over the summer, pet beds, holiday decorations in December.
- Water stains indoors: Look at the ceiling around the chimney chase, the walls adjacent to the fireplace, and the attic if you can access it. Any brown staining, peeling paint, or musty smell near the chimney means water is getting in somewhere.
That’s it. That’s the honest list of what a homeowner can check without specialized knowledge or equipment. If any of those items looks wrong, call a chimney repair specialist on Long Island before you light the next fire.
Here’s the thing Wendell tells people all the time: if you check those six items and everything looks fine, your chimney is probably not fine. It just means the problems aren’t visible from where you’re standing. Your flue doesn’t care how the fire looks. It cares how it breathes. And you can’t see how it breathes from your couch.
What Only a Sweep Can Assess: The Hidden Half of the Checklist
This is the part of chimney maintenance most homeowners never see, because it happens inside the flue where no flashlight from the hearth can reach. A professional sweep evaluates these conditions on every visit, and missing them is exactly how a “fine-looking” chimney becomes a house fire statistic. For a deeper look at what to watch for, see our Chimney Cleaning Warning Signs: A Long Island Homeowner’s Reference Guide.
The professional-only checklist:
- Flue liner condition: Clay tile liners crack, and stainless liners corrode. Neither is visible from the firebox or the roof without dropping a camera down the flue. Cracked tiles let heat and gases reach the wood framing around the chimney. Wood framing in a Long Island home built before 1980 is often dry as a bone after decades of heating seasons.
- Creosote stage and thickness: Creosote comes in three stages, from flaky first-degree to hard, shiny third-degree glaze. The stage matters more than the thickness. Third-degree creosote is basically hardened fuel, and it cannot be brushed off. It requires chemical treatment or mechanical removal.
- Hidden blockages: Squirrel nests, raccoon debris, leaves, and even tennis balls find their way into uncapped or damaged chimneys. A partial blockage that still lets smoke through can create the exact conditions for a chimney fire, because the restricted draft concentrates heat on one section of flue.
- Flue sizing and draft: A flue that’s oversized for the fireplace it serves produces sluggish draft and heavy creosote buildup. This is common in older Long Island homes where fireplaces were built before modern wood stove inserts became popular.
- Smoke chamber condition: The area above the damper where smoke compresses and accelerates is called the smoke chamber, and it’s a common site of hidden cracks and gaps. It can’t be properly inspected from the firebox.
- Flashing integrity: Flashing against the roofline can look fine from the ground and be failing underneath. A sweep on the roof can spot lifted flashing, dried sealant, and rust that will leak during the next nor’easter.
We’ve done inspections on Long Island where the firebox looked pristine, the damper moved like new, and the camera revealed a liner with cracks in thirteen places. The homeowner had burned fires for three winters in that condition. Nothing had happened, but that’s not the same as nothing was wrong. Chimneys fail slowly, then suddenly.
Long Island Seasonal Checkpoints: Nor’easters, Freeze-Thaw, and Summer Humidity
Long Island’s weather doesn’t just chip away at your chimney. It attacks it in specific, predictable ways depending on the season, and knowing the local weather calendar is half of maintenance. Here’s what changes month to month on Long Island, and what you should be watching for in each stretch.
October through January: Burn season begins. This is when creosote accumulates fastest, especially with the wet or unseasoned firewood that’s common after a rainy fall. The first fires of the season after a cold snap are also when hidden blockages reveal themselves, because the draft is weakest when the flue is cold. If smoke spills into the room on the first few fires, stop burning and get it inspected. That’s not normal, and waiting until January makes it worse.
December through March: Nor’easter season. Long Island takes a beating from coastal storms that drive rain sideways and pile snow against chimneys. Water gets into any crack that freeze-thaw has opened during the fall. Check your cap after every major storm, because wind-driven rain entering through a damaged cap runs down the flue and pools at the smoke shelf, turning creosote into a sticky acidic slurry that eats at mortar joints. We see more water damage from nor’easter-driven rain than from any other single cause on Long Island.
February through April: Freeze-thaw cycle at its worst. Daytime temperatures above freezing and nighttime dips below create the expansion-and-contraction cycle that opens hairline cracks into real gaps. This is when small crown cracks become structural problems, and it’s why we tell people to check the crown every April. A crack that was cosmetic in October can be a water highway by May.
May through September: The off-season that breaks chimneys. We say it all the time: once a year, burn or no burn. Chimneys break in the off-season too. Summer humidity on Long Island combines with creosote residue to create acidic condensation inside the flue, especially if the chimney cap is missing and rain gets in. And the off-season is when animals move in, because nobody’s using the fireplace and nobody’s looking. A chimney that sits unused from May through September without a cap is a squirrel condominium by October. Once a year, burn or no burn, is not a slogan. It’s the maintenance schedule that matches how Long Island weather actually works.
Creosote Stages and Why Your Brush Can’t Reach What Matters
Creosote is the reason chimney sweeping exists, and it’s the reason the frequency of your burning matters less than the type of wood you burn and the stage of buildup in your flue. Our Complete Guide to Chimney Cleaning in Long Island covers this in full detail. Homeowners on Long Island hear “creosote” and picture the black gunk from the old movies. That’s only part of it.
First-degree creosote: Flaky, dry, and dull black or brown. It looks like coffee grounds or thin flakes, and it brushes off easily. This is the normal byproduct of hot, clean-burning fires. Every chimney gets some, and a standard brushing removes it. First-degree creosote is a brush job, plain and simple.
Second-degree creosote: Shiny black flakes with a hardened surface, like brittle tar. It forms when fires burn cooler, often because of unseasoned wood or a chimney that’s oversized for the fireplace. It takes more than a standard brushing to remove, usually requiring specialized tools or a rotary cleaning.
Third-degree creosote: Hard, glossy, tar-like glaze that bonds to the flue wall. It forms when creosote is repeatedly heated and cooled without being removed, essentially becoming concentrated fuel. A brush won’t touch it. Third-degree creosote is a glaze, and it’s the stage where a chimney fire becomes almost inevitable if you keep burning. It has to be chemically treated or mechanically ground out, and in some cases, it means replacing the liner entirely.
The mistake homeowners make is assuming that because they only burn occasionally, they can’t have a creosote problem. The opposite is often true: occasional, cooler-burning fires produce more creosote per burn than hot, well-established fires. In our experience, some of the worst glazing we’ve seen on Long Island has been in fireplaces used maybe fifteen times a year, each time with damp wood and a smoldering fire that never got hot enough to burn the creosote off as it formed.
Here’s the practical takeaway: you cannot see the stage of creosote in your flue without a specialized camera. And the type of buildup you have determines the type of cleaning you need, the cost, and whether it’s safe to burn another fire before you get it cleaned. For more detail on how this works in practice on Long Island, see our full guide to chimney cleaning and sweeping in Long Island.
What to Document After Every Cleaning: The Paperwork That Protects You
This is the part of chimney maintenance almost nobody thinks about until they need it. In the event of a house fire, your insurance company will ask for proof that the chimney was properly maintained. If you can’t produce documentation of regular cleaning and inspection, your claim can be denied or reduced, even if the fire didn’t start in the chimney. That’s not a hypothetical. It’s a standard clause in most homeowners policies.
After every professional cleaning, keep these records:
- Written findings report: The sweep should give you a document stating what was found, what was cleaned, and what condition the flue and liner are in. This is your primary evidence of maintenance.
- Photo documentation: Before and after photos from the camera inspection show the condition of the flue at the time of service. If your liner was clean and intact on March 12th, that’s a fact you can prove.
- Condition rating: Ask for a simple rating of the chimney’s overall condition, ideally on a scale you can track year to year. A competent sweep can tell you “condition 8 out of 10, no action needed” or “condition 5 out of 10, crown repair recommended within 24 months.”
- Recommendations in writing: If the sweep flags something, don’t accept a verbal mention. Get it in writing. “Crown shows minor cracking, monitor annually” is documentation that protects you if the crown fails before the next inspection.
- Invoice with dates and scope: Keep the invoice, even if it’s just a standard cleaning. The date range and the fact that you had it done matters more than you think.
- Sweep’s license number and company information: If your insurance company calls to verify the cleaning, they’ll want the company name, license number, and contact information. If the sweeper can’t provide a license number, find another sweeper.
We recommend a simple folder, either paper or digital, that holds all of your chimney records going back as far as you own the home. If the previous owner didn’t keep records, that’s information too, and it’s another reason to get a professional inspection before you burn your first fire. A chimney you inherited without paperwork is a chimney you should treat as unmaintained until proven otherwise.
The Five Things a Sweep Should Hand You at the End of Every Visit
Wendell has been doing this since 1999, and he’s seen every variation of chimney sweep out there. Here’s the standard he believes every Long Island homeowner should hold a sweeper to. If your sweep doesn’t hand you all five of these things without being asked, you’re not getting a professional chimney service. You’re getting a guy with a brush.
- Written findings. Not a verbal summary at the door. A written report of what was found, what was done, and what the condition is. Every single time. If someone won’t put it in writing, it didn’t happen.
- Photos. Before and after photos from the camera inspection. You should be able to see the inside of your own flue. If a sweep won’t show you photos, ask yourself what they don’t want you to see. The camera footage and a plain-English verdict come with every job we do, no exceptions.
- Condition rating. A clear, honest assessment of where your chimney stands and what the next twelve months look like. Not a sales pitch. Not a vague warning. A rating you can write down and track.
- Next recommended service date. A professional sweeper will tell you when to call back, not just “we’ll see you when we see you.” For most Long Island homes burning a normal firewood season, that’s twelve months. If they tell you something different, ask why.
- License number and contact information. The sweep’s name, license number, and company address, on the paperwork they hand you. If the company won’t publish a license number or a physical address, that’s not a chimney service. That’s a guy with a truck and an ad budget.
If the sweep hands you all five of those things, you’re working with a professional. If they hand you an invoice and a handshake, you’re rolling dice. Long Island homeowners have too many options to accept less. Ask anyone on your street. The good sweeps have a reputation, and the bad ones have a new business name every spring.
Tracking Liner Condition Over Multiple Years: Catch Deterioration Before It’s a Rebuild
A flue liner doesn’t fail overnight. It fails over years, and the difference between a $200 repair and a $7,000 liner rebuild is often just whether someone noticed the problem eighteen months earlier. Here’s how to track your liner condition over time, using the documentation from each professional visit.
Step 1: Establish a baseline. Your first professional inspection gives you a starting point. Note the liner material, its age if it’s traceable, its condition rating, and any notations about cracks, gaps, or corrosion. If your home has the original clay tile liner from a 1960s Long Island build, the baseline is already that you have a fifty-plus-year-old liner, and you should expect to address it sooner rather than later.
Step 2: Track changes, not just condition. Year over year, compare photos. A liner that was “condition 7, minor hairline cracks noted” two years ago but “condition 6, cracks expanded to 1/8 inch in two locations” this year is telling you something. The change is the information. A static condition is fine. A degrading condition is a countdown.
Step 3: Understand the typical failure timeline on Long Island. Clay tile liners in our climate fail in a predictable pattern. A small crack forms, usually from freeze-thaw or a chimney fire that happened before you owned the house. Water enters the crack when it rains, and if the chimney gets cold enough, the water freezes and expands, widening the crack. Within a few seasons, the crack has expanded enough that flue gases are escaping into the chimney cavity instead of exiting the top. By the time smoke backs up into the room, the liner has been compromised for years.
Step 4: Act on the first sign, not the last. When the inspector notes anything beyond minor hairline cracking, get a second opinion and don’t sit on it. A stainless steel liner from manufacturers like DuraFlex or HeatShield can be insulated and installed in a day, and the cost is a fraction of what you’ll pay if the brickwork around the chimney starts absorbing heat and moisture from years of gas leakage. Once the chimney itself starts to deteriorate, you’re no longer replacing a liner. You’re rebuilding masonry.
Step 5: Keep the records. When you eventually sell your Long Island home, a folder of annual inspection documents showing consistent liner maintenance is a selling point. And if the worst ever happens, that same folder is the single best thing you can hand to your insurance adjuster.
Common Mistakes to Avoid
- Skipping the annual inspection because you don’t burn much. Occasional use doesn’t mean less risk. It often means more creosote per burn, because the fires run cooler. And the off-season is when animals and moisture do their worst work on Long Island.
- Trusting a visual check from the living room. The firebox can look perfect while the flue liner is failing twenty feet up. If you can’t see the flue with a camera, you haven’t inspected the chimney.
- Burning unseasoned wood. Wood that hasn’t dried properly burns cool and smoky, producing second-degree creosote fast. On Long Island, firewood sold in the fall is often cut the same summer, which means it’s nowhere near seasoned. Buy wood in spring, stack it correctly, and burn it the following winter.
- Leaving the damper open all summer. An open damper is an open hole in your house. It lets cooled air escape in summer, heated air escape in winter, and it’s an invitation for humidity-driven condensation inside the flue. Close it when you’re not burning.
- Ignoring a missing or damaged cap. A chimney without a functioning cap takes on rainwater, blocks debris, and gives animals a warm, dry entry point. A $100 cap replacement prevents hundreds of dollars in water damage and flue deterioration.
- Waiting until the first cold snap to book a cleaning. Every chimney sweep on Long Island is booked solid from October through December. If you wait until you smell smoke or see the first frost, you’ll wait weeks. Book your annual cleaning in late summer or early fall, before the rush.
- Hiring on price alone. A $79 chimney sweep special sounds great until the guy finds $3,000 of “urgent repairs” that a second opinion reveals were never needed. We’d rather charge a fair, honest price once and have you back next year than sucker you once and never hear from you again. A free second opinion on any written estimate is standard practice for us, and it should be for anyone you hire.
When to Call a Professional
Call a professional if you see water stains near the chimney, smell a smoky or damp odor from the fireplace during humid weather, spot visible cracks in the masonry or crown, or notice smoke backing up into the room even occasionally. If it’s been more than twelve months since the last inspection, that alone is reason enough to schedule one before the next burn. And if you’ve never had the chimney inspected since buying the home, treat it as unmaintained until a camera inspection proves otherwise. Top Hat Chimney offers free estimates across Long Island, and Wendell will give you an honest read on what needs doing and what can wait. Call (516) 968-5380 to schedule an inspection. The camera footage and a plain-English verdict come with every visit, no exceptions.
Frequently Asked Questions
Once a year, regardless of how often you burn. The National Fire Protection Association recommends annual inspection, and Long Island’s specific climate, with its nor’easter rains and freeze-thaw cycles, makes the annual cadence even more important here. If you burn more than three cords per season or notice any change in draft or smell, you may need cleaning more often, but a yearly inspection is the floor, not the ceiling.
Expect to pay between $180 and $350 for a standard chimney sweeping and inspection in the Long Island market, with higher pricing for chimneys that haven’t been serviced in years, have heavy creosote glaze, or require specialized cleaning methods. Some companies advertise lowball rates and then “find” expensive problems once you’re on the hook. Wendell gives you the price before a single tool comes off the truck, and the number you hear on the phone is the number on the invoice. Call (516) 968-5380 for an exact quote. Estimates are free.
Only if a camera inspection shows cracks, gaps, or corrosion that compromise the liner’s ability to contain heat and gases, and a second opinion confirms it. Existing clay tile liners in older Long Island homes often fail after forty or fifty years of freeze-thaw cycling, but some liners hold up far longer. Before we ever recommend a new liner, we show you the camera footage and explain exactly what we’re seeing and why it matters. If you’re not shown photo evidence, don’t approve the work. And if you want a free second opinion on any competing written estimate, that’s standard practice for us.
Creosote accumulates inside the flue, and at some point it becomes concentrated fuel. A hot fire or a stray ember can ignite it, creating a chimney fire that reaches temperatures up to 2,000 degrees, cracking the liner and potentially spreading to the home’s framing. Even without a chimney fire, uncorrected creosote buildup combines with moisture to create acidic condensation that eats at mortar joints from the inside. Skipping one year is rarely catastrophic. Skipping many years is how houses burn.
Honestly, we don’t recommend it for most homeowners on Long Island. Store-bought brushes can knock loose flaky first-degree creosote, but they can’t reach the upper flue properly, can’t assess liner condition, and can’t tell you whether the creosote is first-degree and brushable or third-degree glaze that needs chemical treatment. More importantly, getting onto a roof in Long Island’s wet, windy shoulder seasons is genuinely dangerous without the right equipment. The sweep who shows up at your door carries the training, the camera, and the insurance to do it safely and document it properly.
Yes. Wendell and his crew handle cap and crown work, liner installation and rebuilds, and full fireplace services across Long Island. We install and service products from trusted manufacturers like DuraFlex, HeatShield, and Copperfield, and every job is backed by our 90-Day Done Right Promise in writing. If the work isn’t right, one call brings us back at no additional cost. You can learn more on our Chimney Repair in Long Island page or call (516) 968-5380 for details.
The Bottom Line
A chimney maintenance checklist only works if it’s honest about what you can check yourself and what requires a trained eye. You can watch for visible crown cracks, damper problems, and missing caps. You cannot see liner deterioration, creosote glaze, or hidden blockages without professional equipment. On Long Island, where nor’easters, freeze-thaw cycles, and humid summers each attack your chimney in their own way, the annual professional inspection isn’t a suggestion. It’s the maintenance baseline that keeps your house safe and your insurance claim valid if something ever goes wrong. Document every visit, track your liner condition year over year, and never accept a chimney verdict you can’t see with your own eyes in the camera footage. For more guides & resources, visit our blog.
Wendell has been doing this work on Long Island since 1999, and he’ll tell you the same thing he tells every homeowner: your flue doesn’t care how the fire looks. It cares how it breathes. Call Top Hat Chimney at (516) 968-5380 for a free estimate, and you’ll get an honest assessment, upfront pricing, and a written report with photos before the truck leaves your driveway.
Written by Wendell Pike, Owner at Top Hat Chimney, serving Long Island since 1999.