
Last updated September 10, 2026
Level 1 sweep and inspection to the NFPA 211 annual standard - flue, crown, cap, and flashing checked and photographed
Chimney sweep logs do not sweep chimneys. They loosen some creosote - which then falls where a brush and vacuum still have to collect it.
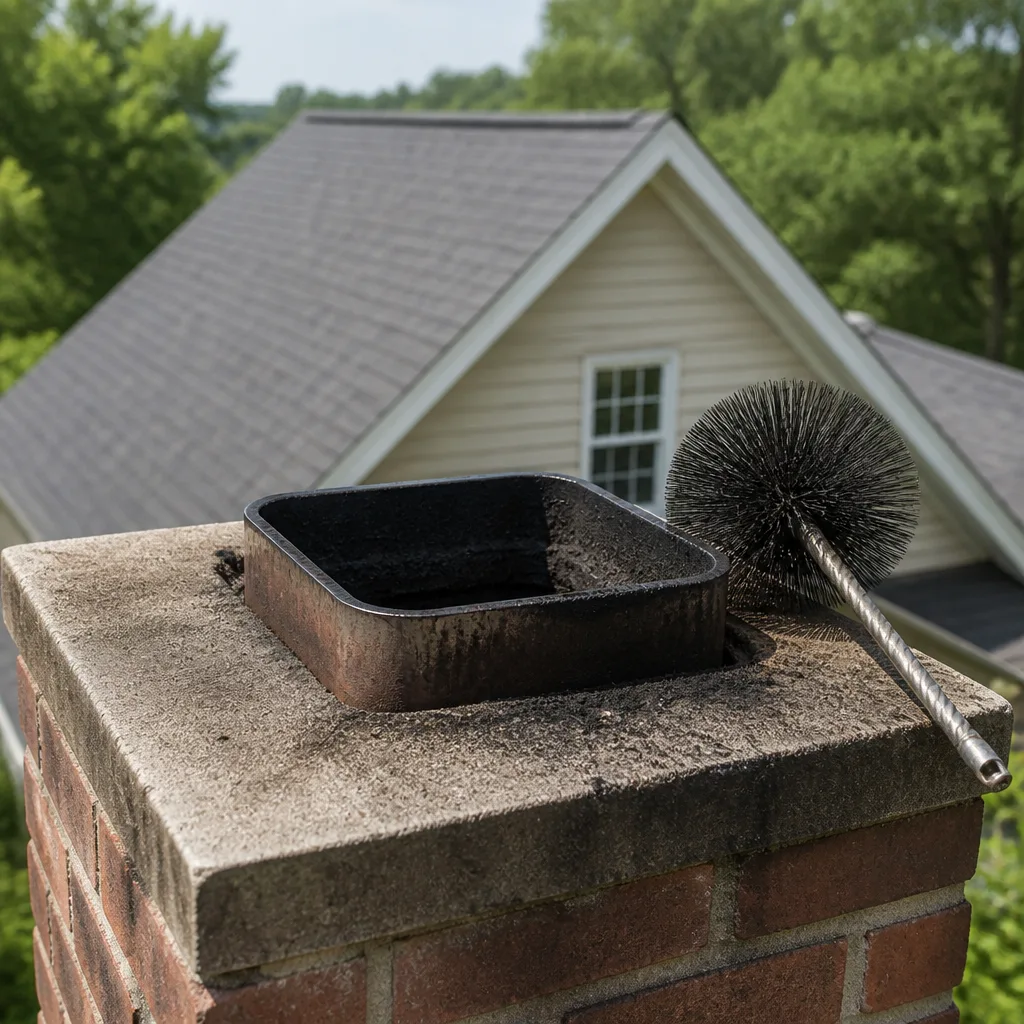
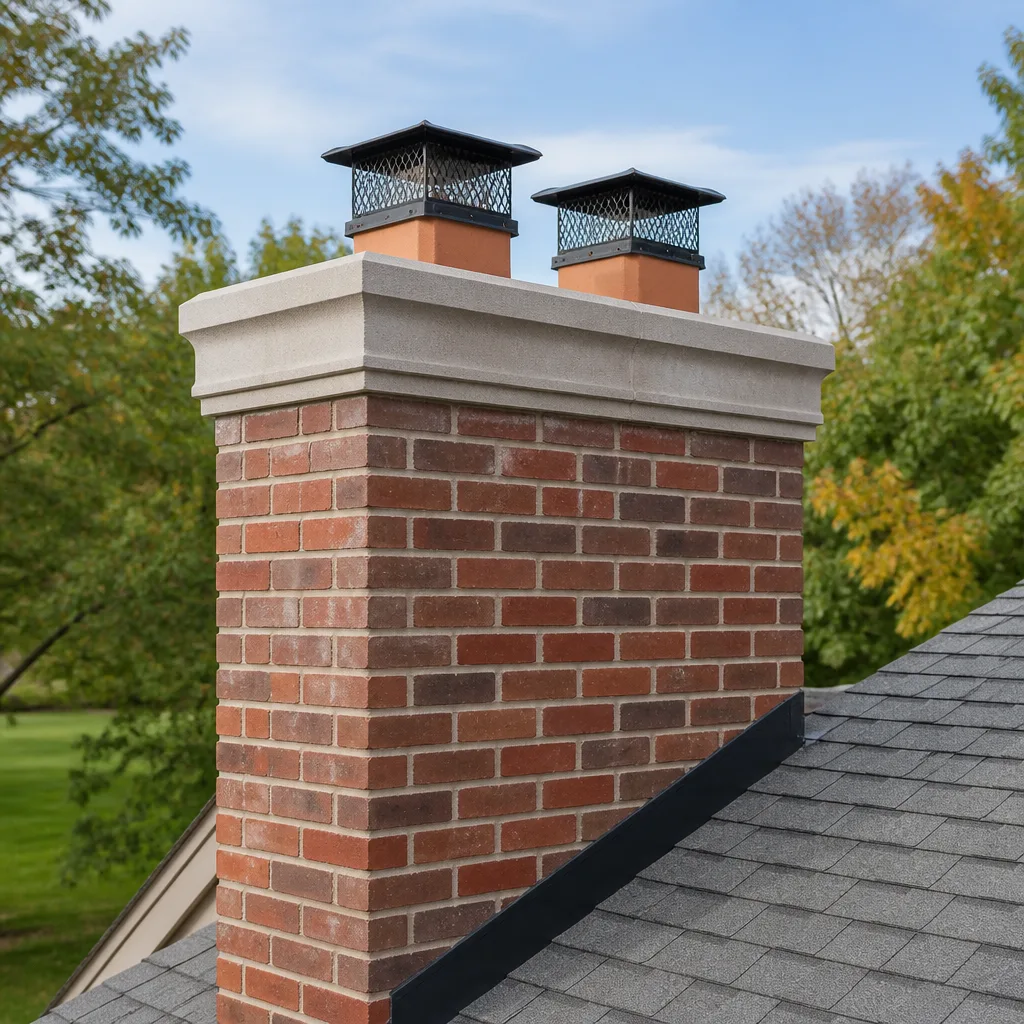
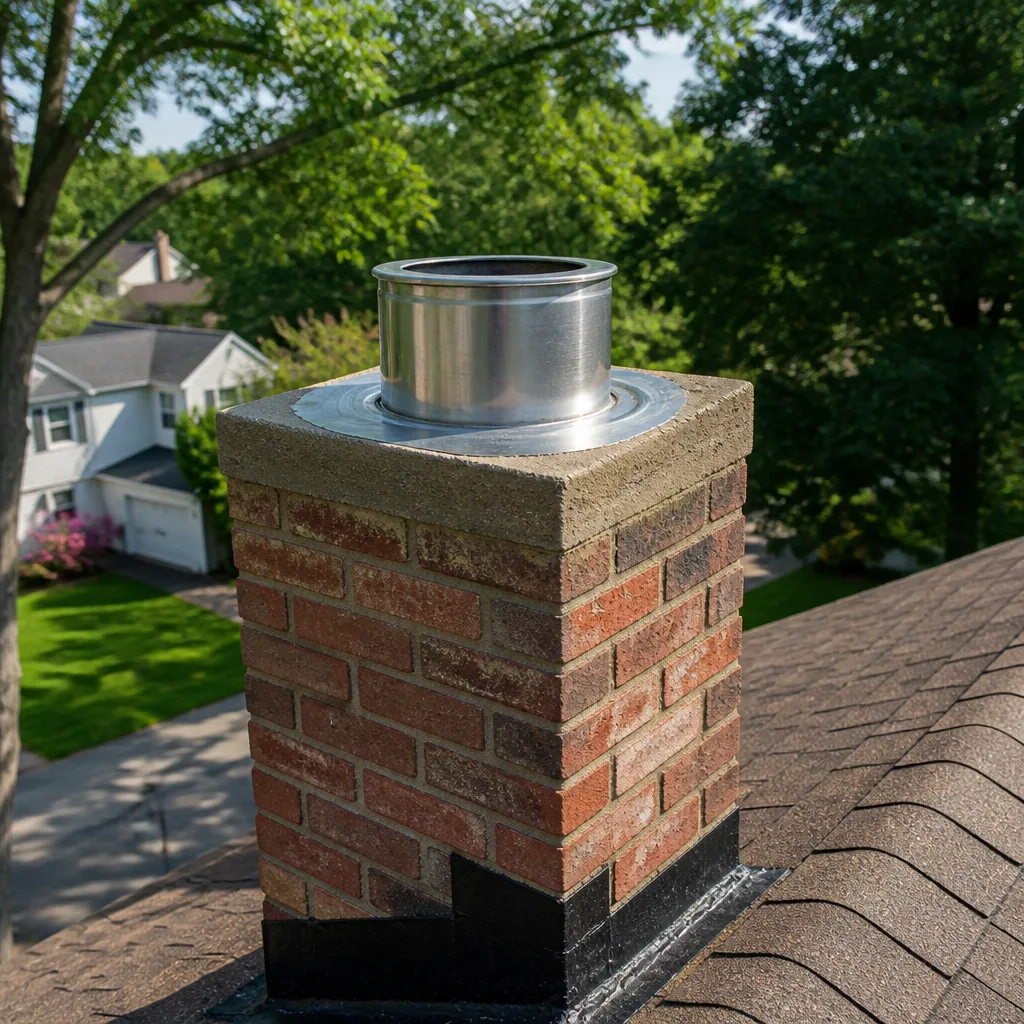
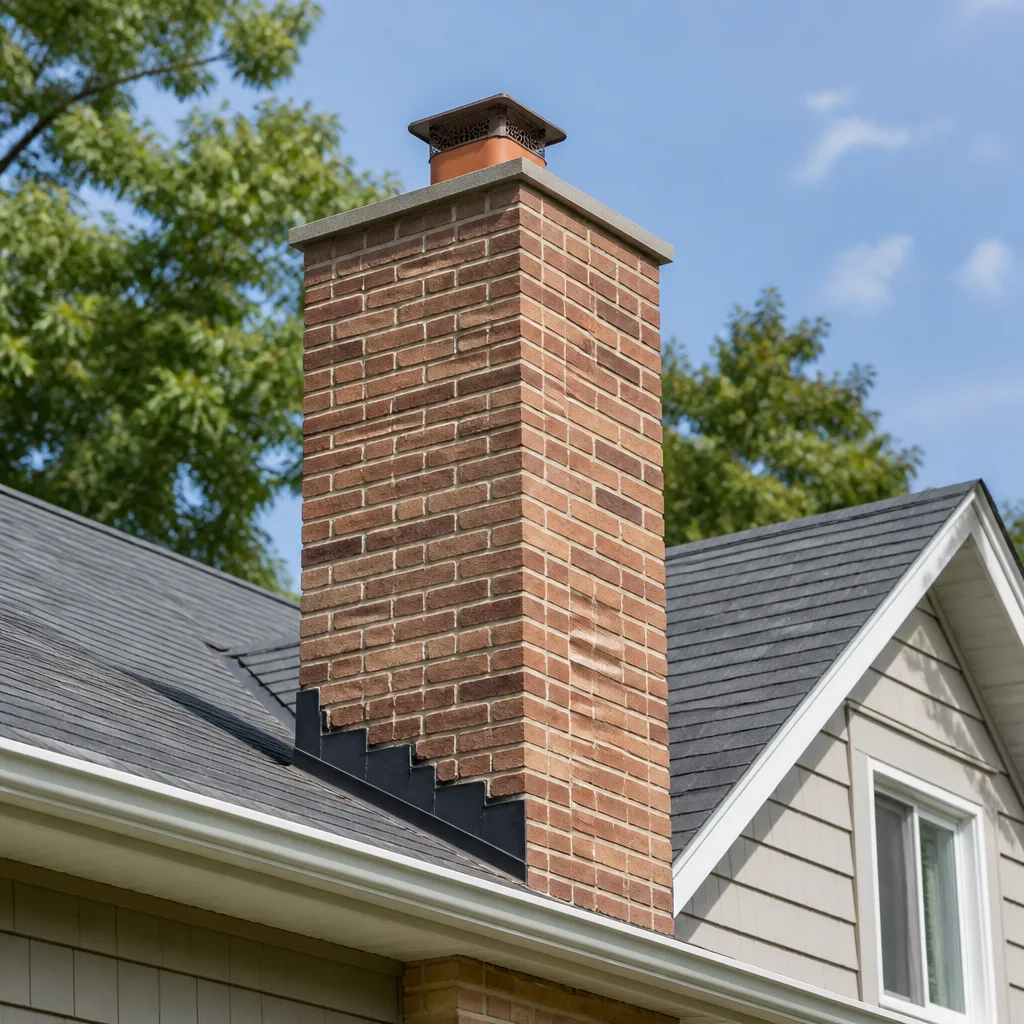
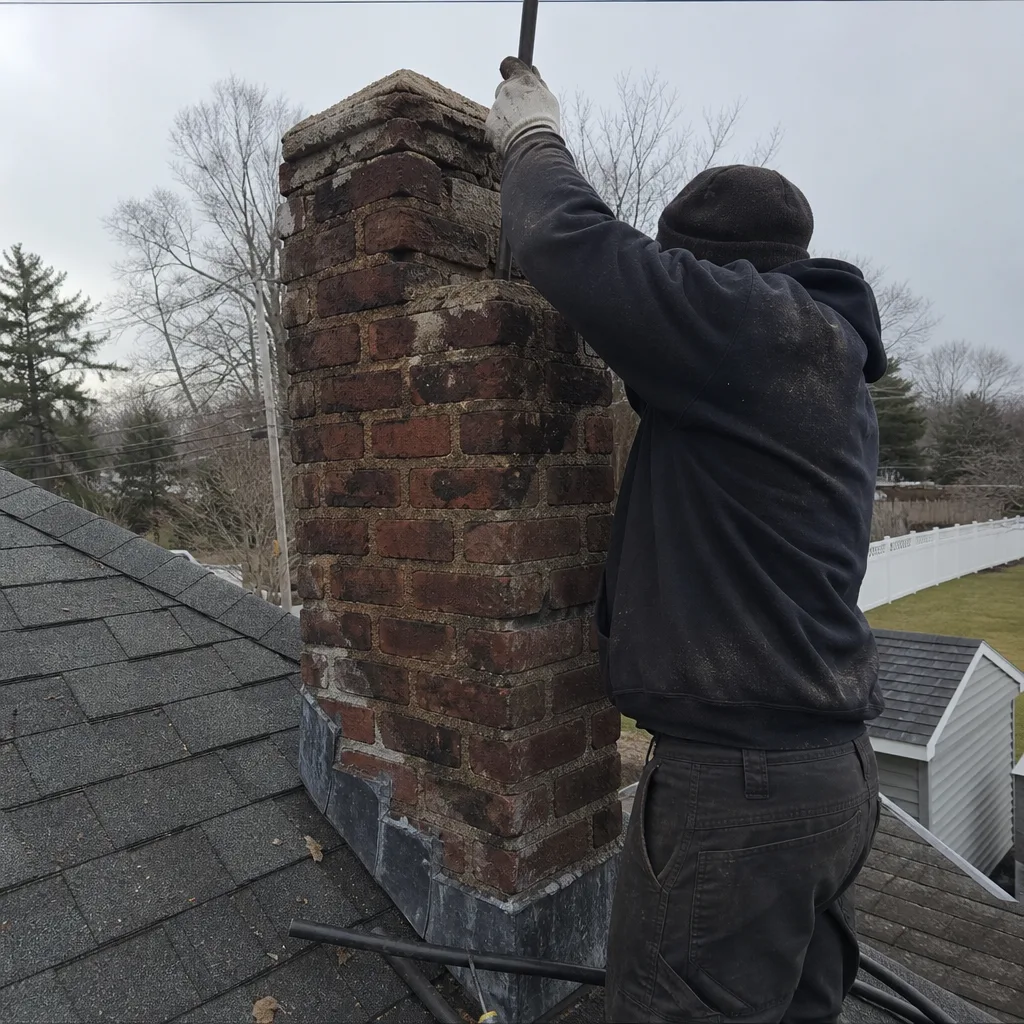 Before
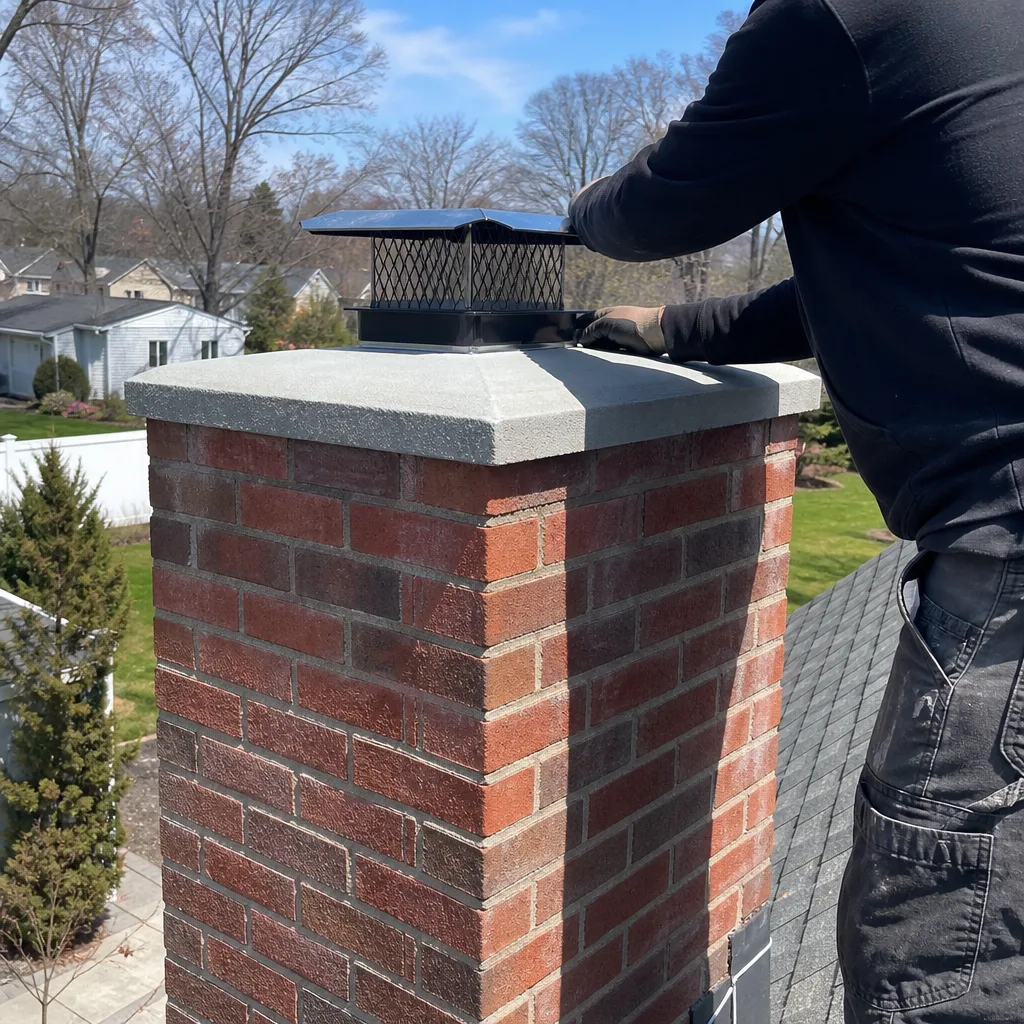 After
After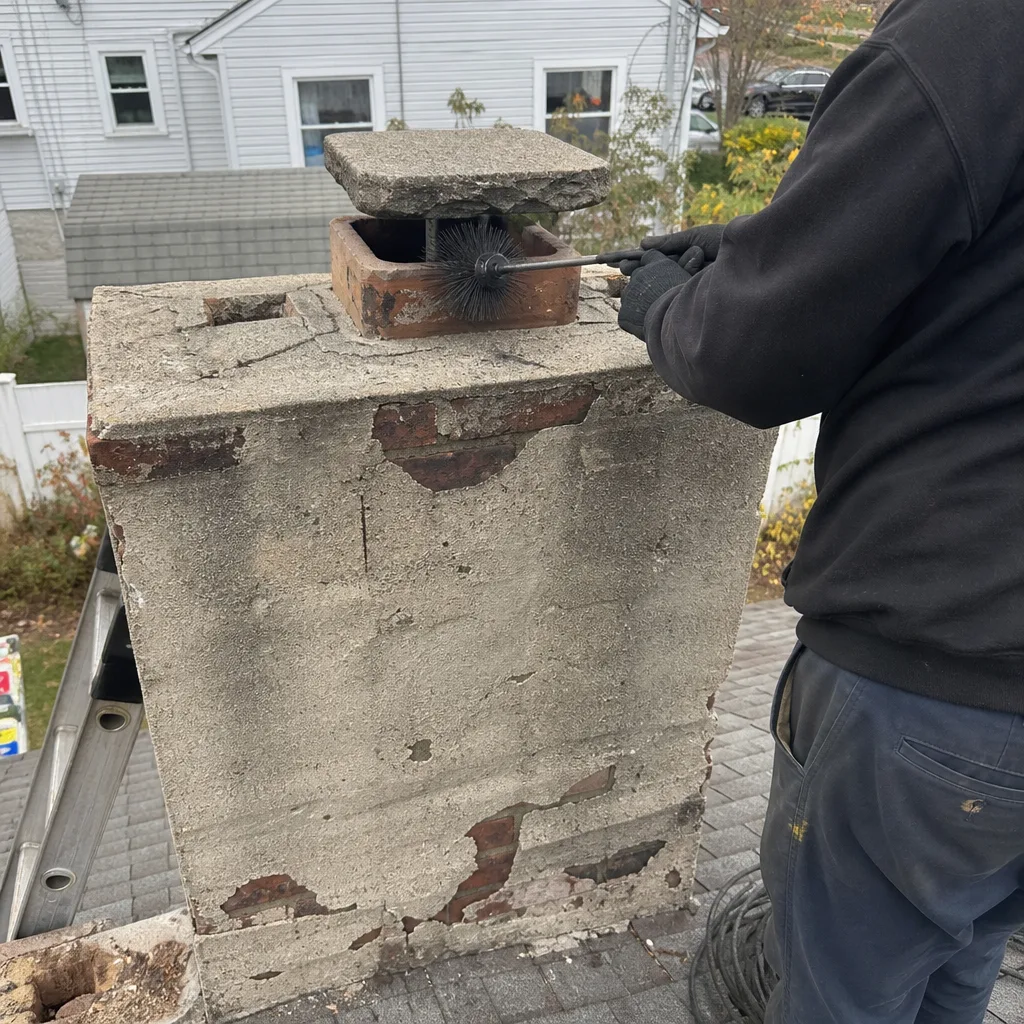 Before
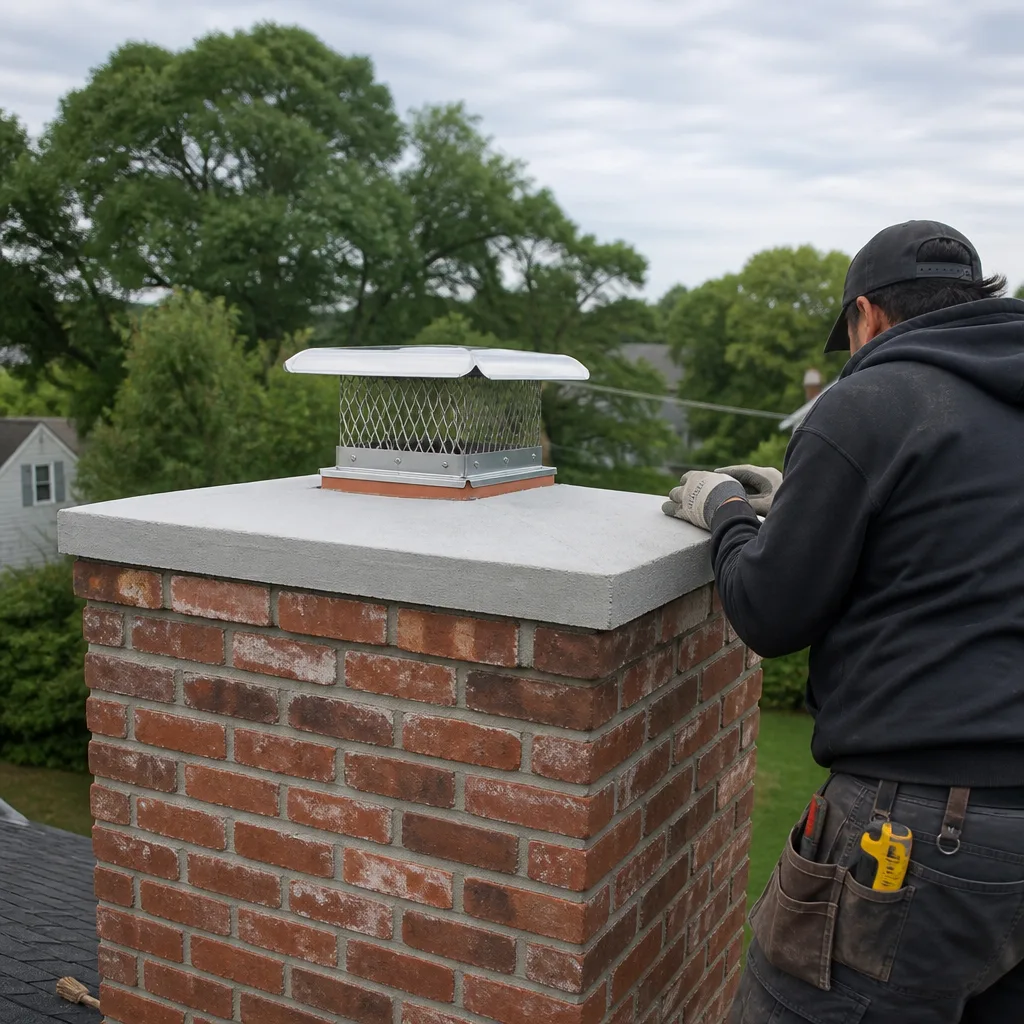 After
After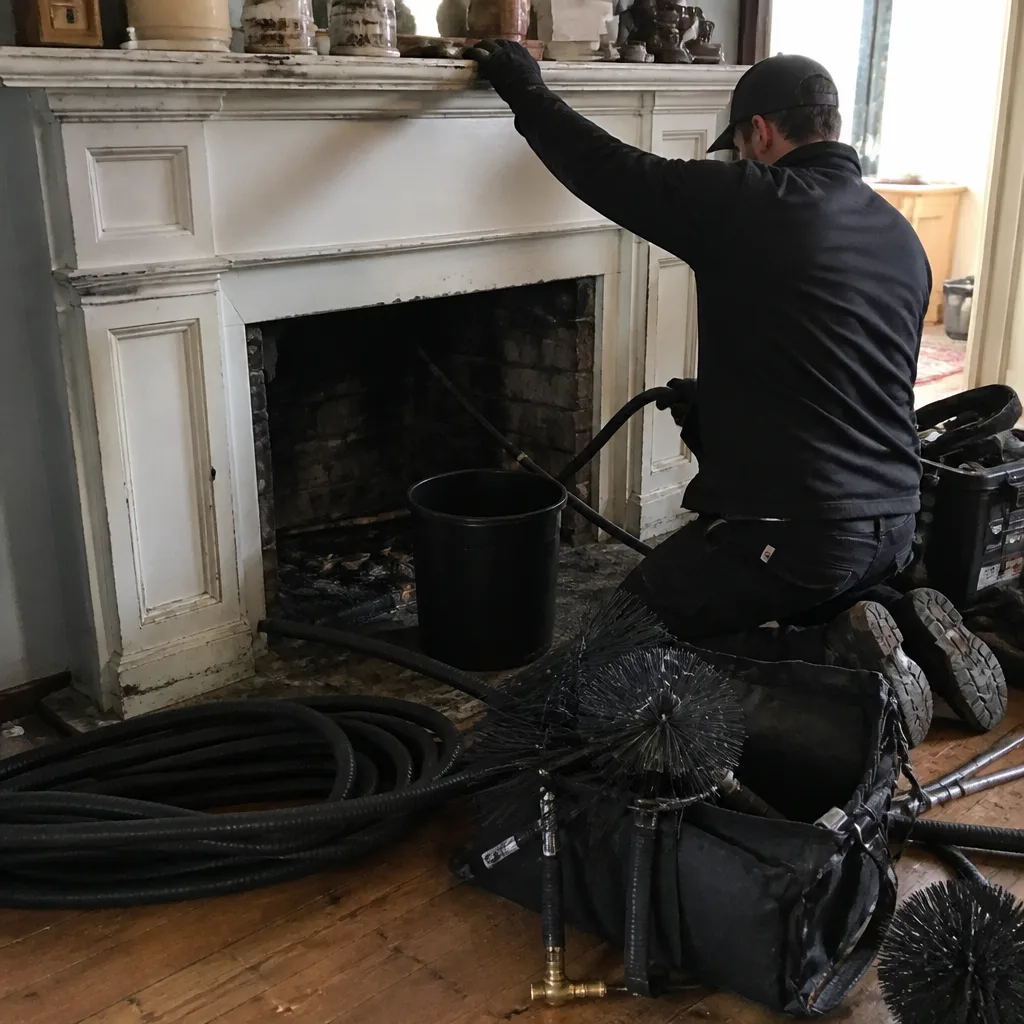 Before
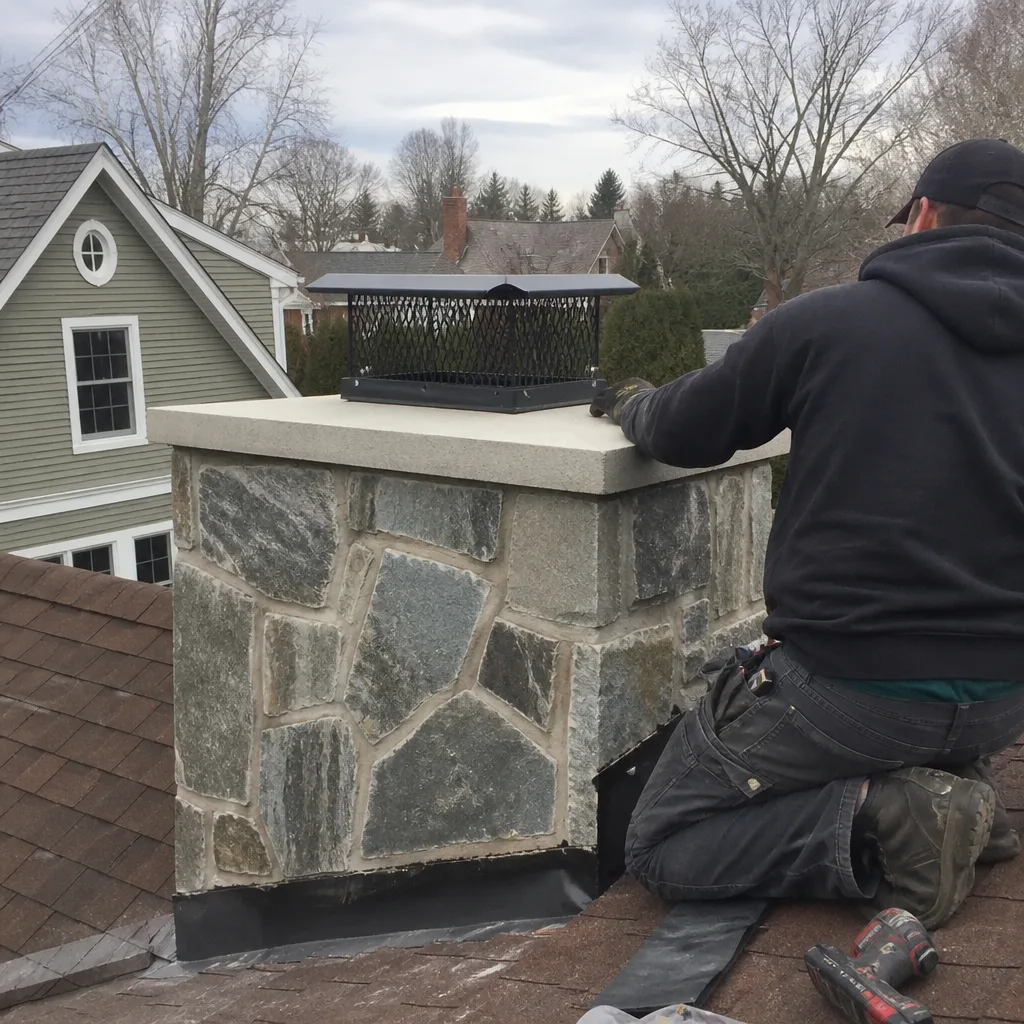 After
AfterDIY vs Professional Chimney Cleaning: The Long Island Homeowner’s Decision Guide
A chimney brush kit costs about $80 at the hardware store, and it will remove surface soot just fine. The problem is that surface soot isn’t what burns your house down. What burns your house down is the glazed, tarry creosote baked onto the flue walls 15 feet above where your brush stops reaching, or the hairline crack in the clay liner that you won’t see until someone drops a camera down the chimney. This guide is an honest accounting from someone who has cleaned and repaired Long Island chimneys since 1999: what you can genuinely do yourself, where DIY turns into false economy, and when the right answer is a professional inspection you can verify with your own eyes.
Quick Answer
For a homeowner who burns infrequently, has a recently inspected liner, and is comfortable working on a roof, a DIY chimney cleaning with a proper brush kit can remove Stage 1 creosote from accessible flue sections and is a reasonable maintenance task. But DIY only addresses the first of three creosote stages, cannot detect cracked liners, deteriorating mortar joints, or animal nesting, and gives you no documentation for insurance purposes. Most Long Island homeowners are better served by a professional sweep that includes camera inspection, and even confident DIYers should schedule a professional Level 2 inspection every three years regardless of their own cleaning routine. For more on finding the right professional, see our guide on How to Hire a Chimney Cleaning Contractor in Long Island: A Step-by-Step Guide.
Table of Contents
- What DIY Can Actually Accomplish
- What DIY Cannot See
- The Three Stages of Creosote, Explained
- The Long Island Factor: Climate, Age, and Construction
- When DIY Makes Sense (and When It Doesn’t)
- The Real Cost Comparison: DIY vs Professional
- Safety Risks That Have Nothing to Do With Skill
- Why Even Confident DIYers Need a Level 2 Inspection
What DIY Can Actually Accomplish
Let’s be straight about this: we’re not here to talk you out of work you’re genuinely capable of doing. A homeowner with the right tools, a sturdy ladder, and a healthy respect for heights can clean several parts of a chimney system effectively. Wendell Pike will be the first to tell you that.
Here’s what a careful DIYer can realistically handle:
- The firebox. This is the area where the fire actually burns. You can see it, you can reach it, and you can vacuum it out with a shop vac and a stiff brush. Remove the old ash, scrub the firebrick with a dry nylon brush, and you’ve done useful maintenance.
This is the flat area just above the damper where smoke pauses before rising up the flue. It collects a surprising amount of debris. With the damper open, you can reach it from below with a flexible brush or even a shop vac with a crevice tool. Long Island chimneys built in the 1960s and 70s tend to have generous smoke shelves, which means more surface area for creosote to settle. - Accessible flue sections. If you have a straight chimney and you’re willing to work from the roof, a polypropylene brush with fiberglass rods can break up Stage 1 creosote from the upper flue. You’ll need a brush sized precisely to your flue dimensions: too small and it won’t contact the walls, too large and it’ll jam. Measure your flue tile before buying anything.
- The chimney cap and crown area. You can clean leaf litter, pine needles, and squirrel nesting from around the cap. You can visually check that the cap is still in place and that the crown mortar isn’t visibly crumbling. These are useful observations.
What gets missed in most DIY writeups is that cleaning these areas is genuinely helpful, and we have no interest in pretending otherwise. But here’s the thing about a flue: it’s one connected system. Cleaning the bottom third and the top cap while ignoring the middle 20 feet is like vacuuming the entryway and calling the whole house clean. Your flue doesn’t care how the fire looks. It cares how it breathes.
What DIY Cannot See
Here’s where the honest accounting begins. When you clean your own chimney, you’re working blind. You cannot see the middle and upper flue from inside the house. You cannot see what’s happening behind the clay tile or between flue sections. And on Long Island, where a substantial portion of the housing stock dates from before 1980, you’re often dealing with chimneys that have been in service for 40, 50, or 60 years. Those chimneys were typically built with terra cotta flue tiles stacked in mortar. Terra cotta is fine material, but it’s not permanent.
What a homeowner with a brush kit cannot detect:
- Cracked or spalled flue tiles. This is the big one. A clay tile can crack from thermal stress, water intrusion, or simple age. A cracked tile means heat and combustion gases have a path into your home’s framing. You cannot see this from either end without a camera.
- Stage 3 glazed creosote. When creosote bakes on in repeated layers, it forms a hard, shiny, tar-like glaze that a brush will skid right across. We’ll cover this in detail below, but the short version is this: a brush does nothing to glaze. It requires rotary tools and chemical treatment, or in severe cases, liner replacement.
- Deteriorated mortar joints between flue tiles. Mortar breaks down over decades. Gaps between tiles let heat escape, let creosote accumulate in the voids, and eventually can allow sparks into the chimney chase. Camera inspection and mortar repair equipment are how this gets found and fixed.
- Hidden animal nests. A raccoon or squirrel nest isn’t always visible from the top. Sometimes it’s partially dismantled, mixed with creosote, and packed into an offset in the flue. When we remove these, the smell alone tells you the firebox cleaning wouldn’t have done the job.
- Separated flue sections. House settling is common on Long Island, especially in areas with the sandy, well-drained soils of the South Shore or the frost-heave-prone clay pockets up in Suffolk. A settling house can shift the chimney and separate flue sections. You won’t catch it with a brush.
None of this requires special skill to see once there’s a camera in the flue. But it requires the camera. And that’s the honest dividing line: DIY cleaning is real, but DIY inspection is not something you can accomplish with a flashlight and a mirror.
The Three Stages of Creosote, Explained
If there’s one concept that separates a useful DIY decision from a dangerous one, it’s understanding what creosote actually does over time. Creosote is not just soot. It’s a chemical residue that condenses from wood smoke onto flue walls, and it goes through three distinct stages as it accumulates and bakes in repeated heating cycles.
Stage 1: Brushable creosote. This is the flaky, dusty, sometimes crusty deposit that forms from normal wood burning. It’s dark brown or black, has a crumbly texture, and yes, a chimney brush will remove much of it. This is the stage DIY cleaning is designed for. If you burn dry, seasoned hardwood and you keep your fires hot, Stage 1 is typically what you’re dealing with. On Long Island, a homeowner who burns oak or maple from a local firewood dealer, a cord or so per season, is most likely looking at Stage 1 in the upper flue after a winter’s burning. Clean it before it becomes Stage 2, and the brush has done its job.
Stage 2: The turning point. Stage 2 creosote looks like shiny black flakes or a grainy, tar-like coating. It has more density, more tar content, and stronger adhesion. What’s happening here is simple: each fire partially bakes the previous deposits. A standard brush will knock some of this loose but will leave a meaningful layer behind, especially in the corners of rectangular flues or behind any offset. Chemical treatments can help break down Stage 2, but most products need heat and time to work, and they’re a supplement to mechanical removal, not a substitute. If you’re seeing shiny, quarter-sized flakes falling into your firebox when you clean the accessible sections, the upper flue is likely in Stage 2 territory, and a brush won’t finish the job.
Stage 3: The glaze. Stage 3 creosote is a hard, dense, jet-black coating that starts to resemble glass. It’s concentrated fuel. When a flue reaches this stage, the creosote itself becomes the primary fire risk, and it burns hot and stubborn if it ignites. A chimney brush will literally skid across the surface without removing it. Stage 3 requires rotary cleaning tools, often with chemical accelerants, to break down and remove. In the worst cases, where the glaze has penetrated and compromised the flue structure, the right answer is liner replacement. We’ve seen third-degree glaze in chimneys that were “cleaned” annually by homeowners with brushes. It’s a false sense of security. First-degree creosote is a brush job. Third-degree is a glaze, and catching it early is the difference between a sweep bill and a rebuild.
DIY chimney cleaning only addresses the first stage. If you haven’t had a camera inspection in the last three years, you don’t actually know what stage you’re dealing with. And if it’s Stage 3, every fire you burn is a gamble.
The Long Island Factor: Climate, Age, and Construction
Chimney advice written for a homeowner in Arizona doesn’t necessarily apply to Nassau or Suffolk County. Long Island has a specific combination of conditions that affects how chimneys degrade and what maintenance they need. Our Seasonal Chimney Cleaning Care for Long Island: Year-Round Homeowner’s Guide covers these local factors in detail.
Age of housing stock. Large portions of Long Island’s residential neighborhoods, from Levittown’s original post-war homes to pre-war colonials in communities like Huntington and Babylon, have chimneys that are decades old. Levittown homes from the late 1940s and 1950s frequently feature interior masonry chimneys with terra cotta flues, and those flues are now 70 to 80 years old. Terra cotta does not have an indefinite service life. A homeowner in a Levittown cape who has never had a camera inspection is effectively flying blind on an eight-decade-old flue. For context on how these systems are serviced, see our Chimney Cleaning & Sweep in Long Island page.
Coastal humidity and salt air. The South Shore, from Long Beach to the Hamptons, sits in a marine air environment. Salt-laden humidity accelerates corrosion on metal components: chimney caps, dampers, and in newer installations, stainless steel liners. The exterior masonry also absorbs moisture, and the freeze-thaw cycles of a Long Island winter, which swing from 40 degrees and raining to 20 degrees overnight, work to crack and spall brick and crown mortar. This is why spring inspections matter: the damage from freeze-thaw happens in winter, but you can’t see it until the ice melts out.
Nor’easters and wind-driven rain. Long Island gets coastal storms that drive rain horizontally, and an unprotected chimney crown or missing cap means water enters the flue every time a nor’easter rolls through. Water mixing with creosote creates an acidic slurry that eats at mortar joints. It also accelerates the freeze-thaw damage described above. It’s the single most common source of hidden flue damage we find on this island.
Mixed fuel realities. Long Island isn’t a hardwood-only burning region. Plenty of homeowners burn whatever they can get: pine from storm cleanup, construction offcuts, occasionally pressure-treated lumber they’d never admit to. Burning wet or soft wood produces more creosote per cord, and burning garbage wood - especially anything with paint, glue, or pressure treatment - produces creosote and chemical residues that no homeowner should be breathing or attempting to remove without proper protection. The cleaner your fuel, the more reasonable DIY cleaning becomes. The dirtier your fuel, the more you’re fighting a professional-level creosote problem with an $80 brush.
None of this means every Long Island chimney is a crisis. It means the island’s chimneys are older, wetter, and more thermally stressed than the national average. That changes the calculus on DIY.
When DIY Makes Sense (and When It Doesn’t)
Here’s the part where we tell you the truth, including the truth that you might be fine doing this yourself. Wendell has told plenty of homeowners over the years that their chimney was clean, that their flue looked fine, and that they didn’t need to pay him for anything beyond the inspection. That’s how an owner-operated business in a small community works: you do right by the neighbor, because you’ll see them at the IGA on Saturday.
DIY makes genuine sense if:
- You’ve had a professional inspection within the last two years that showed a clean, intact flue with no Stage 2 or Stage 3 creosote. This means you know what’s in there. You’re not guessing.
- You burn infrequently. Say, a dozen fires per season, mostly for holidays or the occasional cold evening. Your creosote accumulation rate is low, and annual cleaning may be more than you strictly need.
- You’re comfortable working on your roof. Not willing, comfortable. You’ve been up there before. You have a proper ladder, a safety harness anchor, and you understand that a pitched roof in November on Long Island can be slick with frost or leaf residue long before the first snow.
- You burn clean, seasoned hardwood from a reliable source, you keep fires hot rather than smoldering, and you don’t burn paper trash, cardboard, or lumber scraps.
- You own or can borrow the right tools, including a correctly sized polypropylene brush (not wire, for clay tile flues), fiberglass rods, drop cloths for the hearth, a proper respirator, and a good headlamp.
DIY costs more in the long run if:
- You haven’t had a professional inspection in years. You’re cleaning blind, which is the most expensive way to maintain a chimney, because you’ll discover the liner crack, the Stage 3 glaze, or the failed mortar joint by seeing stains on your ceiling or smelling smoke in the house, not by catching it early.
- You burn a full cord or more per season and the flue has never been camera-inspected. You’re in the highest creosote accumulation category, and the type of creosote that forms under heavy burning is exactly the type a brush can’t remove.
- Your home is pre-1980. This isn’t a skill issue. It’s a materials and age issue. Pre-1980 Long Island homes are more likely to have terra cotta flues, more likely to have mortar deterioration, and more likely to have insulation or liner conditions that a homeowner cannot assess. You need the camera.
- Your roof is high, steep, or complicated. A colonial with a 12/12 pitch roof and the chimney near the ridge is not the same job as a ranch with a 4/12 pitch. Falls from roofs and ladders during chimney work are a leading cause of serious injury among homeowners. The hospital bill, or worse, makes $350 for a professional sweep look like the bargain it is.
- You burn softwood, scrap wood, or anything other than seasoned hardwood. Once you have significant creosote accumulation, you’ve moved beyond maintenance and into remediation. That’s professional work.
The honest truth is that most Long Island homeowners we meet fall somewhere between these two lists. They could handle the mechanical cleaning, but they haven’t had the inspection that tells them whether cleaning is enough. And that’s the gap this guide is meant to close.
The Real Cost Comparison: DIY vs Professional
Let’s put actual numbers on this, because the hardware store price tag is only the beginning.
DIY startup costs:
- Chimney brush kit with fiberglass rods: $60 to $100, depending on flue size and rod length
- Shop vac with HEPA filter: $50 to $120 if you don’t already own one (and a household vac without a fine-dust filter is not adequate for creosote dust)
- Respirator rated for fine particulates: $25 to $40 (a dust mask is not enough)
- Drop cloths, tape, headlamp, basic PPE: $30 to $50
- Ladder, if you don’t own one: $150 to $300 for a quality extension ladder that reaches most Long Island roofs
- Total first-time investment: roughly $315 to $610
On a per-cleaning basis after the first year, assuming you already own the tools, the direct cost is near zero except for your time and any PPE replacement. But the hidden cost is the inspection gap: none of this equipment tells you whether your flue is structurally sound. And the test for whether the flue is sound is not whether the fire draws well. A cracked flue draws fine, right up until it doesn’t matter anymore.
Professional sweep costs on Long Island:
- Standard chimney cleaning with camera inspection: roughly $200 to $350, depending on flue height, accessibility, and whether the chimney has a straight run or offsets
- Cleaning plus Level 2 inspection: $300 to $450 for the combined service in most Long Island markets
- If issues are found: repair costs vary widely, but catching a cracked liner early typically means a liner repair or partial reline, which runs substantially less than a full rebuild
Top Hat Chimney doesn’t do bait pricing. The number you get on the phone is the number on the invoice, and there’s Top Hat Chimney home information available anytime. The company’s longstanding policy is upfront pricing before the first tool comes off the truck, and that means no surprise line items for “extra creosote removal” or “difficult access.” For seniors and veterans, there’s a permanent 10% discount, and any repair over $200 carries a standing $40 discount. Inside the county, there’s no trip charge. These aren’t seasonal promotions. They’re how the business has operated since 1999.
So the financial comparison looks like this: a homeowner who cleans their own chimney every year for five years and never gets an inspection has saved maybe $1,300 in sweep fees. If year six reveals a liner problem that’s been cooking for half a decade, the repair is suddenly a $4,000 to $8,000 reline or rebuild instead of the $600 fix it would have been at year two. DIY cleaning without inspection is not saving money. It’s deferring a discovery.
Safety Risks That Have Nothing to Do With Skill
Some people write about DIY chimney cleaning as if the only risk is making a mess or doing an incomplete job. That’s not the half of it. On Long Island specifically, there are safety considerations that apply even to methodical, careful homeowners.
Asbestos in pre-1980 construction. This is a serious one, and it doesn’t get talked about nearly enough. Many Long Island homes built before 1980 used asbestos-containing materials for insulation around flues and in some cases in chimney construction materials. The danger isn’t in the chimney itself while it’s intact; it’s in disturbing that material. A homeowner who gets aggressive with a wire brush, a grinder, or who attempts DIY repairs that involve cutting or scraping around an old flue can release asbestos fibers. This is not a skill issue. It’s a detection and identification issue. If your home predates 1980 and you haven’t had the flue area professionally assessed, do not attempt any repair work beyond surface cleaning. Call someone who knows what to look for in Chimney Repair in Long Island.
Disturbed wildlife material. Squirrels, raccoons, and especially birds make homes in chimneys on Long Island in large numbers. Their nesting material is not just a fire risk; it’s a biological hazard. Raccoon feces can carry roundworm eggs that are dangerous to humans and that survive in dry material for years. Disturbing an old nest and inhaling the dust is a real health risk. If you see or suspect animal activity, a professional with proper protective equipment should handle the removal. We don’t expect a homeowner to know this stuff; we do expect a professional to, which is why we’re telling you.
Roof fall hazard. We mentioned this earlier, but it bears repeating. Falls from ladders and roofs kill and maim homeowners every year on Long Island. A chimney is often located at the highest, steepest part of the roofline. Moss, leaf litter, early morning frost, or simply the pitch and height are enough to cause a fatal accident even for someone who’s “done it before.” This isn’t a warning about capability. It’s a recognition that roof work is statistically one of the most dangerous DIY activities a homeowner can undertake, and chimney access is among the worst of it because you’re working both feet on a sloped surface, often reaching over your center of gravity.
Creosote dust exposure. Creosote dust is not just soot; it’s a complex mixture of combustion byproducts, and it irritates skin, eyes, and lungs. A proper respirator is mandatory, eye protection is mandatory, and so is a way to control the dust inside the house. Professional sweeps use high-power HEPA vacuums and containment procedures specifically because creosote dust is nasty stuff. If you’re going to DIY this, don’t skimp on the PPE. A $2 dust mask is worse than useless because it creates a false sense of protection.
None of this means you shouldn’t clean your own chimney. It means you should understand the full picture before you climb the ladder.
Why Even Confident DIYers Need a Level 2 Inspection
Here’s the argument we make even to homeowners who clean their own chimneys, mantain their own fireplaces, and would never call us for routine sweeping. And we make this argument because it’s true, not because it sells a service.
A Level 2 inspection includes everything in a Level 1 inspection (the basic visual check of accessible portions), plus camera scanning of the entire flue interior, and it is required by the National Fire Protection Association standard in specific circumstances: any time a home is sold or transferred, any time the system has changed (new liner, new fuel type, new appliance), after any significant event (chimney fire, lightning strike, building settling), and on a regular schedule for actively used fireplaces. The recommendation from industry standards bodies is a Level 2 inspection at minimum every three years for chimneys in active use.
Here’s why the three-year marker matters for the DIY crowd:
- Slow degradation is invisible from the ends. A flue tile can crack and shift gradually. A mortar joint can erode and open slowly. These changes happen over months and years, and they’re not appreciable from the firebox or the chimney top. The camera sees them immediately.
- Creosote stages progress between cleanings. If you’re a DIY cleaner, you’re removing Stage 1 creosote, which is the stuff you can see and reach. But Stage 2 and Stage 3 accumulate in the sections you can’t. Three years of DIY cleaning without inspection is enough time for a glazed section to build in an offset or a corner that your brush has never touched.
- Home changes affect the chimney. If you’ve had a roof replaced, your chimney’s flashing and cricket were disturbed. If you’ve had siding installed, your chimney chase may have been disturbed. If you’ve converted from oil to gas without updating the flue, you may have a mismatch between appliance and liner. These are all situations that call for professional eyes.
- Documentation has actual value. If your house burns because of a chimney fire, your insurance company will ask when the chimney was last inspected and by whom. “I clean it myself every fall” is not a professionally documented inspection. A dated Level 2 inspection report from a licensed sweep is evidence that you maintained the system to standard. Ask anyone on your street who has been through an insurance claim.
The camera footage and a plain-English verdict - that’s what a professional inspection gives you. Wendell and his crew will show you what the camera sees, tell you what it means, and tell you plainly when a problem can wait. For more on the full range of maintenance around the hearth, see Fireplace Services in Long Island.
Here’s the key point: we’re not asking you to give up your DIY cleaning. We’re asking you to pair it with professional inspection every three years. That combination gives you the satisfaction and cost savings of doing your own maintenance, along with the verification that your flue is actually safe. It’s the best of both worlds, and it’s what we recommend to our own neighbors who like to handle their own seasonal chores.
Common Mistakes to Avoid
- Using a wire brush on a terra cotta flue. Wire brushes are for stainless steel liners. On clay tile, they score and chip the surface, creating exactly the roughness where creosote accumulates faster. Match the brush to the flue material.
- Cleaning from the roof with no fall protection. Every year, Long Island homeowners end up in emergency rooms from ladder and roof falls during chimney work. If you’re not set up for safe roof access, the professional visit is cheaper than the ambulance ride.
- Burning the creosote out intentionally. Some old-timers will tell you to build a hot fire and let the chimney “burn itself clean.” What they’re describing is a controlled chimney fire. If your creosote has reached Stage 2 or 3, you’re risking a full structure fire. Do not do this.
- Ignoring the smell of smoke in the house. Smoke smell when the damper is open and the fire is drawing can indicate a failing liner or a blockage. It won’t fix itself, and continued use makes it worse.
- Cleaning without a camera follow-up. Even professional sweeps that don’t include camera inspection are leaving information on the table. If you’re paying for a cleaning, pay for one that comes with footage. If you’re doing it yourself, budget for a professional camera inspection every three years.
- Skipping the off-season. Chimneys don’t stop deteriorating in the summer. Moisture, animals, and settling all continue year-round. Once a year, burn or no burn: the inspection, not necessarily the cleaning, should happen regardless.
- Assuming a new home doesn’t need a check. We meet homeowners who just bought a house and assume the chimney was inspected. On Long Island’s competitive market, many sales close without a meaningful Level 2 inspection. If you didn’t see the camera footage yourself, you don’t know what’s in the flue.
When to Call a Professional
If you’ve read this far and you’re still deciding, here’s the short version. Call a professional if your home is pre-1980 and you’ve never had a camera inspection. Call if you see shiny, tar-like material in the flue or firebox instead of dry, flaky soot. Call if you smell smoke in the house when the damper is open and the fire is burning normally. Call if there are signs of animal activity, water staining on the ceiling near the chimney, or crumbling mortar on the exterior stack. And if you can’t remember the last time anyone looked at the flue with a camera, that’s probably long enough. Top Hat Chimney offers free estimates in Long Island, and Wendell answers the phone himself more often than not. Call (516) 968-5380. A second opinion on any written estimate is always free, and if you’re inside the county, there’s no trip charge. No pressure, just the camera footage and a straight answer.
Frequently Asked Questions
A chimney in active use should be swept annually, or when creosote buildup reaches 1/8 inch, whichever comes first. On Long Island, with the winter burning season running roughly November through March, an annual fall or early winter cleaning is the standard. If you burn only occasionally - a dozen fires per season - every other year may be sufficient, but only if a professional inspection confirms the flue is in good condition.
The $99 sweep is typically a loss-leader from a national chain: a quick brush pass with no camera, no time spent on the roof inspection, and a heavy upsell pitch at the end, often with a “found” problem that just happens to cost thousands. The professional $300 sweep on Long Island includes camera documentation, time spent on the crown and cap, and a straight answer about what’s actually in the flue. Top Hat Chimney has never done bait pricing. The number quoted upfront is the final invoice, and the company backs every job with its 90-Day Done Right Promise.
You can clean the firebox, smoke shelf, and accessible flue sections if you have the right tools, your flue has been professionally inspected recently, and you’re comfortable on the roof. What you cannot do is inspect the full flue for cracks, glaze, or hidden blockage without a camera. DIY cleaning is reasonable maintenance, but it’s not a substitute for periodic professional inspection. Most Long Island homeowners will benefit from combining their own seasonal upkeep with a Level 2 inspection every three years.
Creosote accumulates in stages. Stage 1 is brushable. Stage 2 is tar-like and partly resistant. Stage 3 is glazed, flammable fuel. If enough creosote builds and a chimney fire starts, the fire can reach 2,000 degrees and crack the flue, ignite framing, or spread into the house. Skipping cleaning also means skipping the inspection that would catch cracked liners, animal nests, and water damage early. Once a year, burn or no burn: chimneys break in the off-season too.
Gas fireplaces and gas inserts don’t produce creosote the way wood fires do, but their vents can block with debris, animal activity, or corrosion, and gas appliances raise carbon monoxide risk if the vent is compromised. A gas fireplace in a Long Island home should be inspected at least every two to three years, and the venting system should be checked for integrity as part of that inspection. If your gas fireplace is using the original terra cotta tile flue, it may need a liner upgrade to handle the moisture output of gas combustion.
A standard professional cleaning with camera inspection takes 45 minutes to 90 minutes, depending on access, flue height, and what the camera reveals. If you’re booking with Top Hat Chimney, the sweep who shows up at your door will give you a real arrival window, and the team works with trusted brands like Copperfield and Olympia Chimney for replacements and component work. Call (516) 968-5380 for a free estimate and a straight answer about what your chimney needs this season.
The Bottom Line
A DIY chimney brush removes Stage 1 creosote from accessible flue sections, and for a careful homeowner with a recently inspected liner and a modest burning habit, that’s genuine, useful maintenance. But it’s not a complete solution. It can’t see cracked terra cotta, deteriorated mortar, Stage 3 glaze, or the hidden animal nest, and it gives you no documentation if something goes wrong. On Long Island, where the housing stock skews old and the coastal weather is hard on masonry, the smartest approach is the one we’ve been recommending to neighbors since 1999: clean your own chimney if you’re capable and inclined, but don’t skip professional inspection. For more guides & resources on keeping your chimney safe, explore our blog. Every three years, get the camera in the flue and get the plain-English verdict. It costs a fraction of what a rebuilt chimney costs, and it’s the difference between knowing and guessing.
Written by Wendell Pike, Owner at Top Hat Chimney, serving Long Island since 1999.